Sunday School > Crafts > 3 Paper Nativity Crafts > Angled Roof Paper Barn
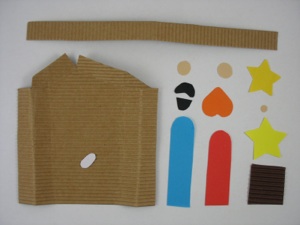

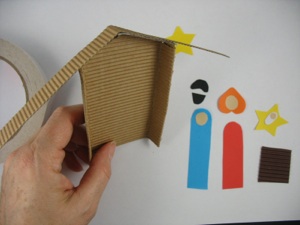
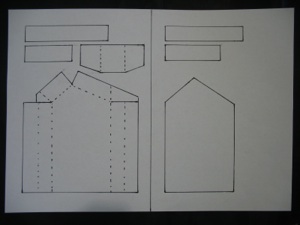
Download the pattern for the barn and cut out of brown paper. The one shown here is made from corrugated paper for added texture. Since the back of the paper is a different color from the front, the sides of the barn have to be double so they are the same on both the inside and outside of the barn. If your paper is the same on front and back, you can leave off those extra flaps on both sides.
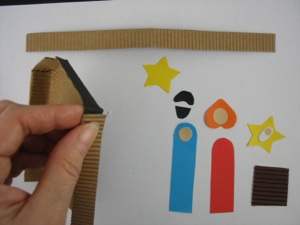
Fold the roof and walls forward on the dotted lines shown on the pattern. Glue, or use double stick tape to fasten the walls. In the photo above, the edge of the roof is folded down over the wall so it will be sandwiched between the 2 layers of wall. If you only have one layer of wall (because the 2 sides of the paper are the same), glue this flap from the roof to the inside of the wall rather than the outside as shown here.
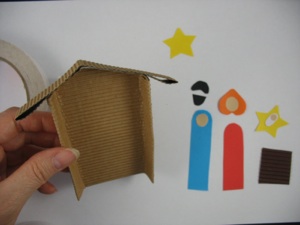
This photo shows the wall folded back on itself with the roof flap sandwiched between.
Glue or use double stick tape to fasten the roof to the barn.
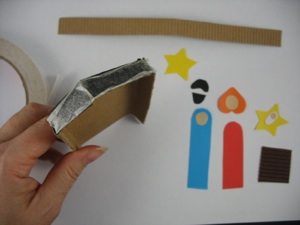
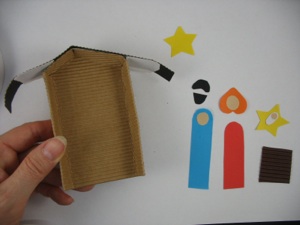
The roof sticks out too far.
Fold the ends of the roof back on itself. (you may need to trim some of the roof before folding.)
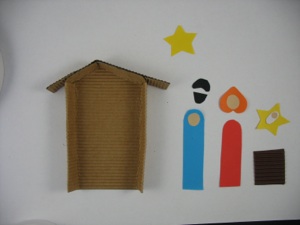
Unfold the flaps on the roof and glue or use double stick tape to fasten the roof back on itself.
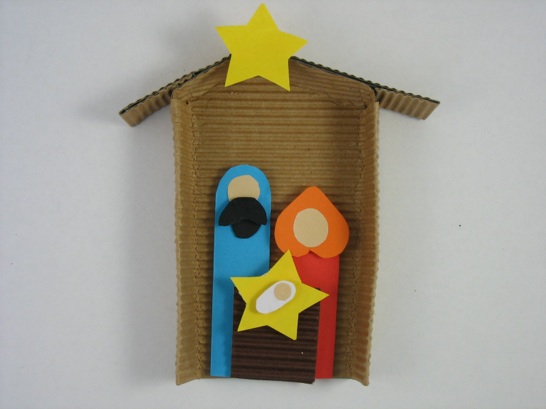
Completed barn ready for figures.
A three dimensional barn can add some charm and depth to an otherwise flat panorama such as a bulletin board.