Amy’s Free Ideas


Seasons > Christmas > Decorations for the home > Paper Christmas Tree Using Paper Fans With Paper Star Centerpiece
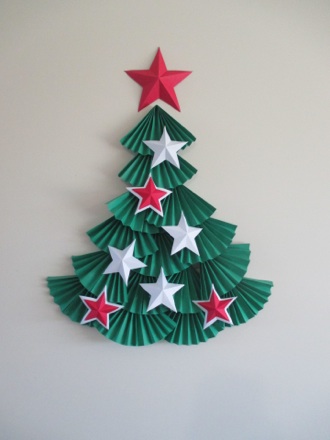
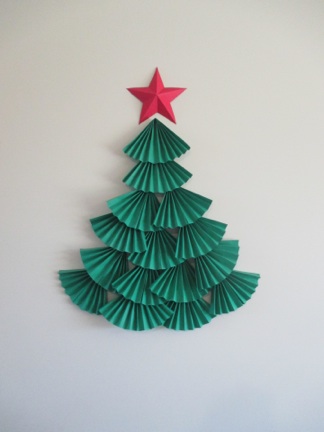
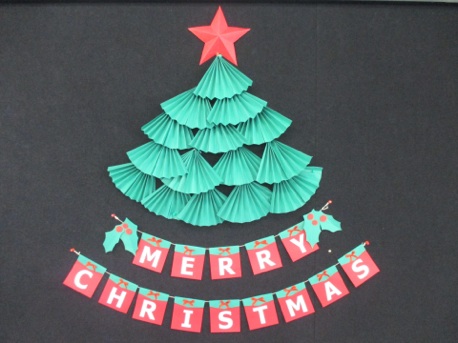
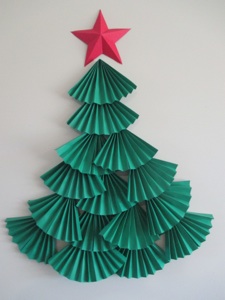


This Christmas tree is made of paper, so it is very inexpensive, and fairly quick to make. Fold green sheets of paper in accordion pleats. Then fold a red sheet of paper, and with one snip, it becomes a start. Simply fold to make the 3-D shape. These have all been fastened to the wall with Fun-Tack (wall mounting putty--there are lots of brands out there. Another option would be to mount the tree on a poster board or bulletin board.
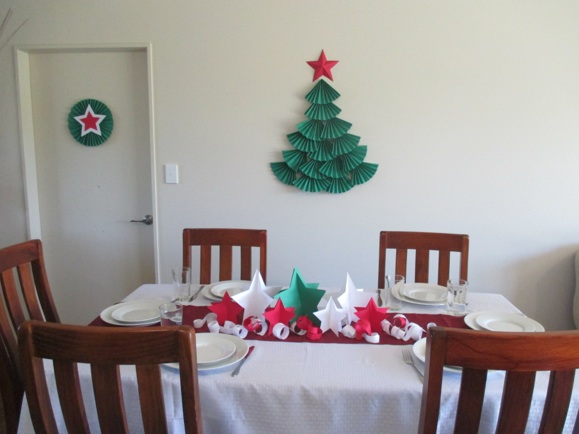
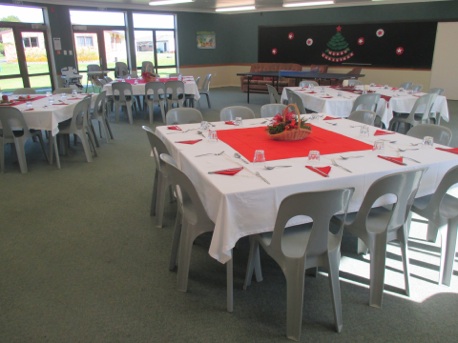
This tree is great for small apartments that don’t have space for a real tree, or for countries where it might be difficult to get a real or artificial tree. It makes a great background for a dining room. The “wreath” on the door is a disc of 4 sheets of green paper that have been glued end to end, then folded accordion style. Two paper stars were fastened in the middle.
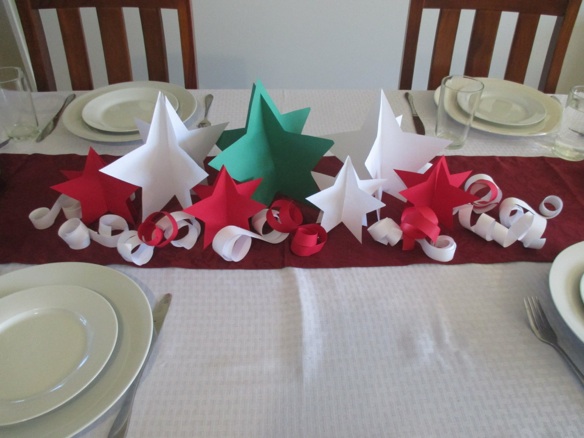
The centerpiece is made of lots of paper stars and paper curls. If you make a centerpiece with colored paper, be sure to test a small piece with water, to see if it bleeds. You do NOT want to ruin your tablecloth or table runner--all it takes is a spill or even a sweating pitcher to make the paper wet. To test the paper, simply wet a small scrap of colored paper and lay it on a paper towel for a few minutes. If the paper towel remains white, the paper does not bleed. See specific instructions for making the tree and centerpiece below
With so many stars and curls, this star centerpiece looks luxurious, even though they are made out of paper. They are sturdier if they are made out of card stock, but regular copier paper works fine. Cut out 2 stars for each stand-up star, then cut a slit in the top of one and in the bottom of another. Slide them together, and then spread them apart so they stand. If you are putting them on a slick surface, without a tablecloth, stars made of copier paper may slide and collapse. In this case, either put a piece of paper or cloth down as a base before setting up the stars. Another solution is to make them out of stiffer paper--sliding is not a problem with card stock. The stars are more interesting if several sizes and colors are made. The curls are made out of the same paper--just cut strips the length of the paper, and use scissor to curl them like you would with ribbon--drag the edge of a pair of scissors along the paper, holding the paper firmly agains the scissors with your thumb as you pull the scissors down the length of the strip. If you want longer curls, glue two strips end to end, then curl.
IMPORTANT NOTE: These stars will not stand if the paper has been folded. Make one pattern by folding. Then use that as a pattern to cut out all the other stars.
If you want to make decorations for the tree, you can make paper stars to fasten onto it. Since the green is fairly dark, white stars stand out very well. The red does not show up as well against a dark background. One solution is to make red stars that are lightly smaller than the white stars, then layer the red on top of the white. Everything is fastened on with Fun-tack (wall mounting putty.) Then it is easy to take apart for storage.
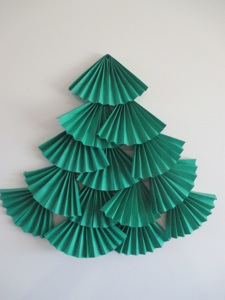
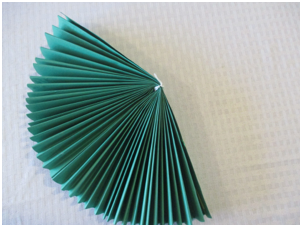
To make the tree, fold 15 sheets of green paper in accordion pleats. Start folding on the long side rather than the short side so the branches will be as long as possible. Fold in the middle, and glue the open edges together in the middle. Put the tree on the wall by starting with the bottom row up first, so that the rows above can layer on top.
Keep layering the next rows overlapping the previous row, but decrease the number of “branches” each row or two. Don’t worry if there are some gaps--no one will notice.
Put the mounting putty on the back of the top point to fasten each “branch” to the wall. When possible, anchor the “branch” in another place as well, to give it a stronger bond to the wall. It just depends on how it is overlapping other branches for where it makes contact with the wall. If you don’t sufficiently fasten each piece, parts of the tree will fall down because there is not enough mounting putty holding it in place.
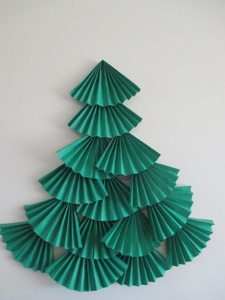
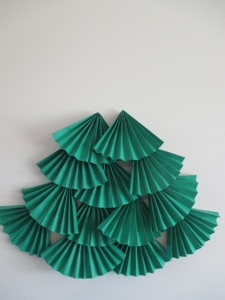
This tree starts with 2 layers of 4 “branches” each, then the next row has 3, and the top two layers have only one branch each. The tree can be made fatter by making the rows have more branches (see photo below.) Top the tree with a star. You can make the tree as big as you want--just make more branches, and make each row longer.
Add a paper banner that says, “Merry Christmas” to make the tree appear larger, or just to add a cheery message. This tree is fatter than the tree above--it has 5 “branches” on the bottom row, then 4, 3, 2, 1, respectively on the succeeding layers. When fastening the branches to a bulletin board, push a tack or push-pin in a “valley” fold near the top of each “branch.”
This tree is perfect for decorating a large hall such as in a school or church because it is so cheap, and relatively quick to make. The bulletin board shown here is quite wide, so the space on either side of the tree is decorated with more paper accordion discs like the one on the door in the photo at the top of the page. However these discs are smaller, so they are made with 2 sheets of paper rather than 4.
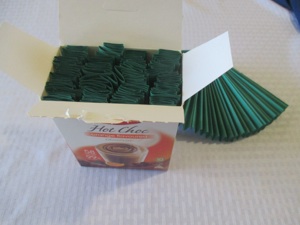
These discs fold up small for storage.