Holidays > Easter > Decorations for the home > Cardboard Tube Cross


These crosses are made out of cardboard tubes. The top and bottom ends were cut off at an angle, then they were used as the arms of the cross. Cardboard tubes can come from wrapping paper, paper towels, plastic wrap, tinfoil, etc. Try to use tubes that are easy to cut--some tubes are especially thick which are too much work to try to cut.
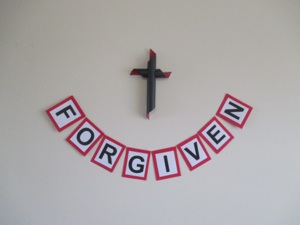
The insides of the tubes are painted a contrasting color to accentuate the spiraling shape. Dark colors only need one coat of paint (the red and black on the cross above) but the light colors need 2 or 3 layers of paint (the yellow cross in the photo to the left.)
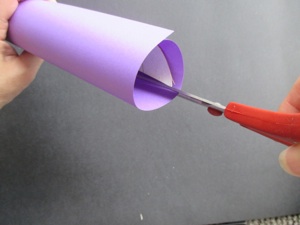
It may be quicker to cover tubes in colored paper rather than painting them. The purple cross above looks the same as the yellow and black crosses, but it is actually made out of paper with no cardboard tube at all.
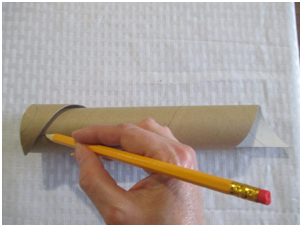
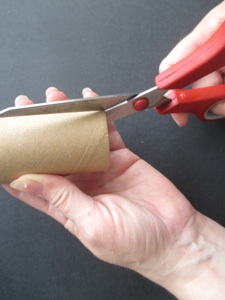
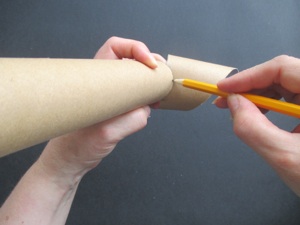
Find the seam on the tube. Starting right next to the point, cut straight down to the seam.
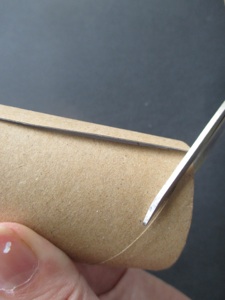
Cut along the seam as it spirals around the tube until you meet the straight cut.
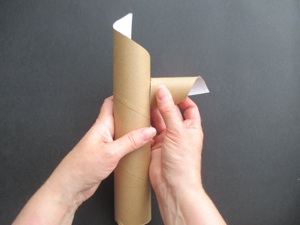
Hold the cut off piece on the side of the vertical piece. Make sure the straight edge of the arm is visible, and perpendicular to the straight cut at the top
You can glue it onto the side as is, but there are rather big gaps becauseof the round surfaces. Mark the top and bottom of the arm where the tubes touch.
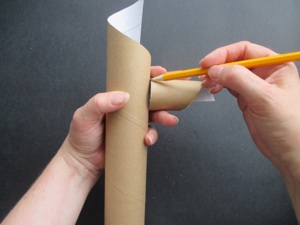
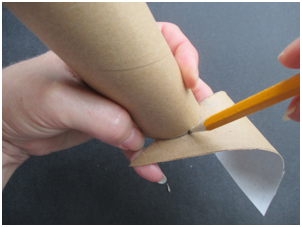
Use the uncut end of the tube to draw two curves in the arm piece, top and bottom--one next to the point, and one closer to wide end--use the pencil markings to determine where to put these cut-outs. It will allow the arms to fit snugly next to the vertical piece.
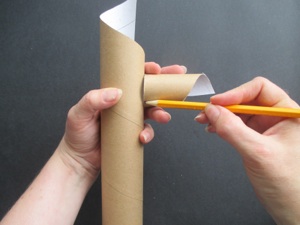
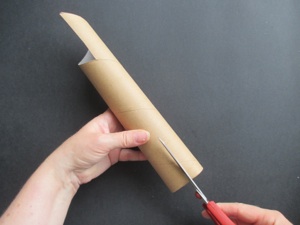
Cut out both curved places. Test the arm against the vertical piece, and adjust any places that aren’t quite right.
If you prefer to glue paper on rather than paint the cross, roll up a sheet of paper to fit inside the vertical piece. Pull it out and cut off extra paper. Push it back into the tube. Pull the paper away from the inside surface (without pulling it out of the tube), rub glue next to the cut edges and press the paper against the glue.
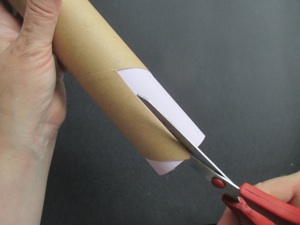
Use the cut cardboard tube as a guide to cut the paper.
Roll the paper around the vertical tube, and cut off excess paper. Rub glue all over the tube, then roll the paper onto the vertical tube. Press out any air bubbles and wrinkles. Be sure to glue the areas where the arms go especially well, because if the paper pulls loose and tears, the arms will fall off. Cut the outside paper along the cut edges of the cardboard tube. Glue paper to the inside and outside of the arms, then glue them to the vertical piece.
Cut the bottom of the tube in the same way as the top, but rather than looking for the seam, cut directly below the straight cut from the top, so they both are in a straight line.
For the other end, cut the spiral in the opposite direction as the top cut. Use the cut off end to draw a line to follow.
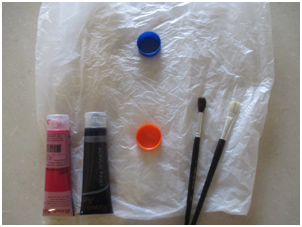
Paint the inside and outside contrasting colors. For dark colors, you only need one coat of paint, but for light colors you will need 2 or 3 coats of paint to look good. You only have to paint a little way into the inside of each end the tube, not the whole way down the inside of the tube. The arm pieces are more visible, so they should be thoroughly painted. Be sure to spread something to protect the surface such as a plastic bag. Rest the cross on bottle caps to keep the paint from rubbing off until the paint dries.
Cover with Paper Instead of Painting