Holidays > Easter > Decorations for the home > How to Make a Paper Cross

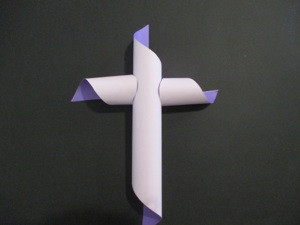
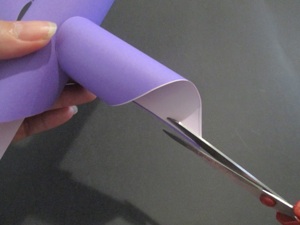

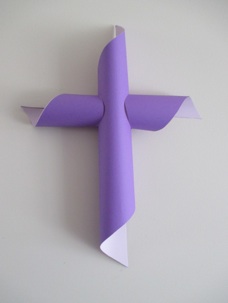
These paper crosses have a unique twisting shape. The inside is a different color from the outside, which accentuates the cool shape. All kinds of color combinations are possible. Dark colors on the outside will look best on light walls, and light colors on the outside will look best on dark backgrounds.
The vertical piece is made from 2 sheets of paper, and the horizontal piece is made from 2 more sheets of paper. If you have paper that is different colors on each side, then it would only take one sheet for each piece (total of 2 sheets instead of 4.)
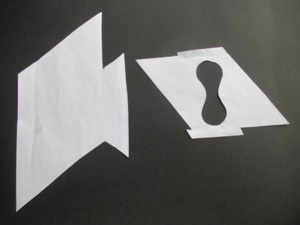
Print out both patterns, and cut out each piece from 2 different colors of paper. Save time by stacking the sheets together and cutting out each shape at once instead of cutting out each shape twice.
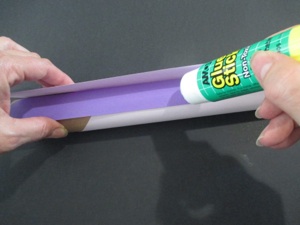
It is easiest to glue the sheets of paper if they are wrapped around a cardboard tube.
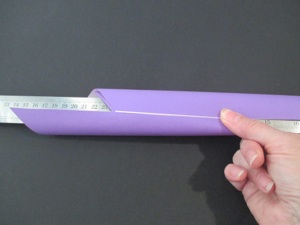
If you don’t have a tube, use a ruler or some long thing object to press the glued sections together or else you might accidentally crush it while you are gluing them together.
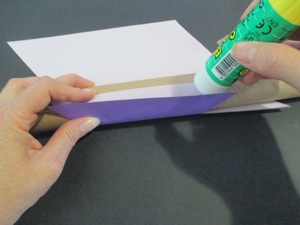
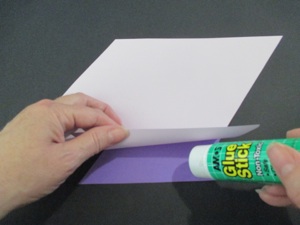
Start with the vertical piece. Keeping the two layers stacked, lift the top layer and glue ONLY the edge that sticks out from the rest like the bottom half of a triangle (see photo above this one.
Next wrap both layers around the tube, ONLY glue the bottom layer of paper where it overlaps. (Be sure to keep the outside color on the outside when you wrap it around the tube.)
Finally, glue the top layer. If you try to glue the sheets together before wrapping them around the tube, the paper will buckle and warp. Slide the paper tube off of the cardboard tube, and set it aside.
Put glue on the back side inside the hole in the middle in the horizontal piece.
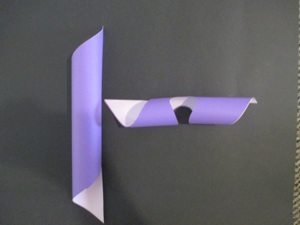
Squeeze the vertical piece into the hole in the middle of the horizontal piece. Press the glued areas together. Be careful not to crush either piece!
Trim any places where one color sticks out beyond where it should.
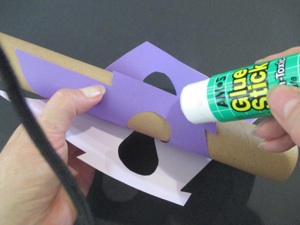
Make the horizontal piece in the same way. Keep the two layers stacked, and glue one edge.
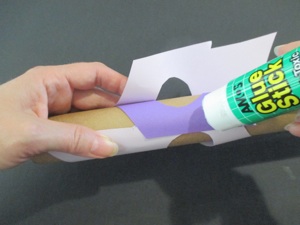
Wrap both layers around the tube, and glue the bottom layer where it overlaps. Finally glue the edge of the top layer.
Slide the vertical piece off of the cardboard tube.
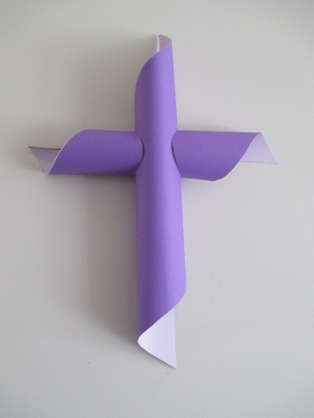
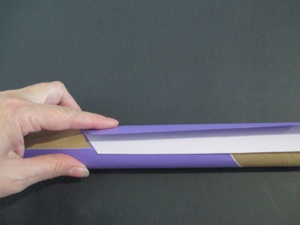
There are 2 versions of this cross (lavender and purple), and the how-to photos have both parts mixed together because some of the photos showed clearer angles than the others. I hope this didn’t confuse you.


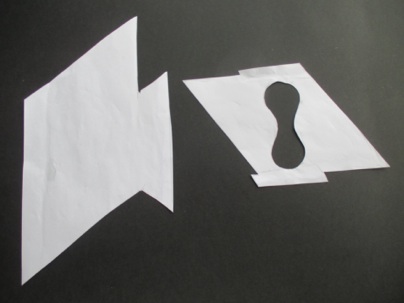
Download vertical piece (shown on left)
Download arms--horizontal piece (shown on right)
Download vertical piece (shown on left)
Download arms--horizontal piece (shown on right)


