

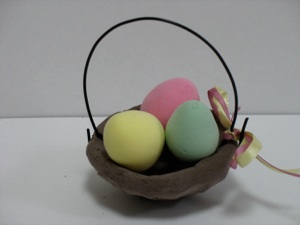
Sunday School or Bible Clubs > Crafts > Easter crafts--Easter Egg Shaped Crafts > 3-D Easter Eggs
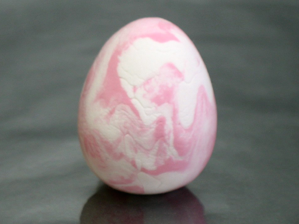
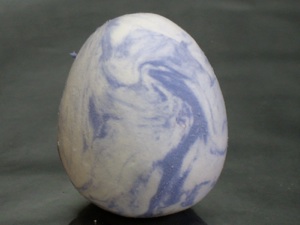
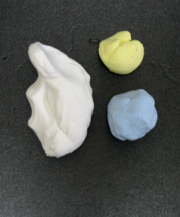
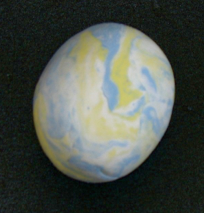
Squeeze two or three colors of clay together, but stop mixing before the colors are completely combine.
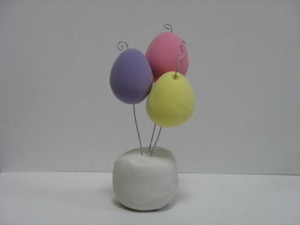
3D Clay Eggs
Roll mixed clay into a ball.
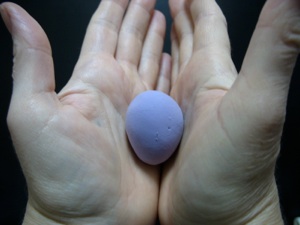
Hold your hands together with palms up, pinky fingers touching. Place the clay ball in your hands and gently roll the ball back and forth until the bottom end of the ball is smaller--an egg shape. . Let dry for several days or up to a week.
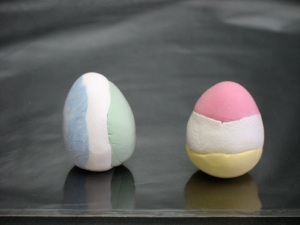
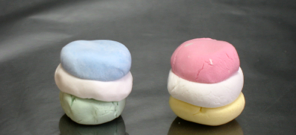
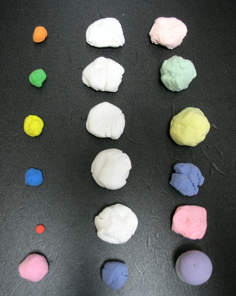
Make small balls of different colors of clay and smash them flat.
Stack 3 or more colors and wet with a bit of water. Squeegee the layers back and forth to make them stick together better.
Form egg shape as described above. Rolling the eggs so the stripes are vertical is much easier than if the stripes are horizontal because the horizontal stripes tend to separate.


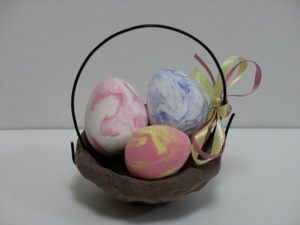
Marbled Eggs
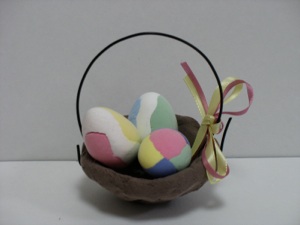
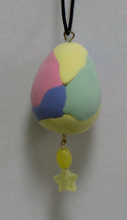
Layered Eggs
Chunked Eggs
This is a good way to use up left over clay from other craft projects. Gently squeeze together several pieces of left over clay (but don’t squish them together as in the marbled eggs above). Roll them into a ball, then into an egg shape (explained above.) The sections will stick together better if you dampen the slightly before squeezing them together. But don’t add too much water, or it makes it goopy. If that happens, just wait a minute--the surface dries pretty quickly.
If you don’t have another project, simply cut different colors of clay into small cubes and gently squeeze together. Roll into a ball and then into an egg shape.
Sunday School or Bible Clubs > Crafts > Easter crafts--Easter Egg Shaped Crafts > 3-D Easter Eggs


-
+ =
-
+ =
-
+ =
-
+ =
-
+ =

-
+ =
The trick for making an egg shape is to first roll the clay into a ball, then gently roll it back and forth between your palms to form the narrow end (the narrow end will be on the bottom.)
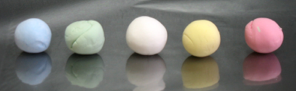
How to mix colors if a store near you doesn’t sell pastel colored clay
Light weight clay such as Hearty (Karui Kamienendo) is usually sold in several colors at 100 yen stores and craft stores.