


Sunday School or Bible Clubs > Seasonal Sunday School Crafts > Nativity Christmas Card
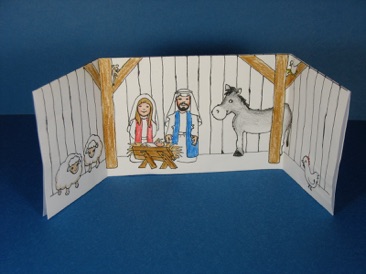
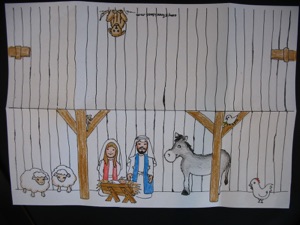
Deluxe 3-D Nativity Card Scene
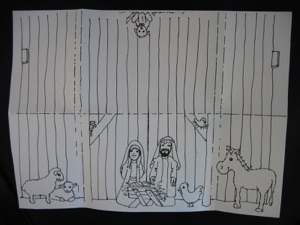
Print one black and white version on brown paper for each child. This will form the background. Also print one colored version on white paper for each child. This is the sheet to cut the shapes from. (I used as little color as possible so that printing would not use up so much printer ink.) If you would rather color it in yourself, print out a second black and white version, but on white paper.
Quick Nativity Card Scene
Print one sheet for each child--print the black and white version if the children are going to color it in, or print the colored version if they will fold it and be done with the craft.


How to make the card:
-
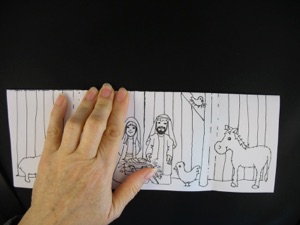
1.Fold the card in half the long way (“hot dog fold”)
-
2.Fold the card in thirds so the sides meet in the middle. The thicker “crack” between the boards between Mary and Joseph mark the middle, so you know where to fold. The other option is to fold on both dotted lines on both sides (I tried to make the dotted lines a little less obvious so that it wouldn’t look like you folded it in the wrong place if you chose to fold it to the middle. These dotted lines are really drawn for the 3-D version on the right so the raised figures would have enough room to close the card, but these double fold lines can be used for this version, too.)
How to make the card:
-
1.Fold the brown sheet in the middle long-ways (“hot dog fold”)
-
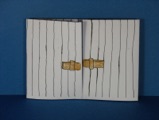
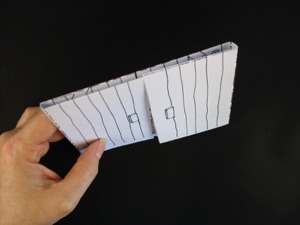
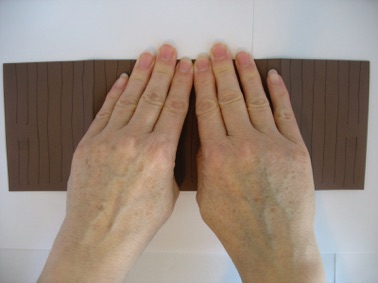
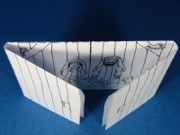
2. Fold the sides toward the middle on BOTH dotted lines on BOTH sides. (see photo to the lower left.) Folding the card in two places on each side provides extra space so the raised figures will have enough room to close the card. (I tried to make the dotted lines a little less obvious so that it wouldn’t look like they folded it the wrong way if they chose the simpler version on the left. )
-
3.Show the children how to cut out all the colored shapes from the colored sheet. If there is not much time to complete the craft in class, you can either extend the craft over several classes, or you can cut out the shapes for them ahead of time. If you want additional figures to add to the scene, download sheets from Paper Stand Up Nativity Set.
-
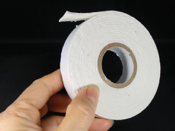
4. Provide foam-style double stick tape to fasten the shapes onto the brown background where the outlines indicate.
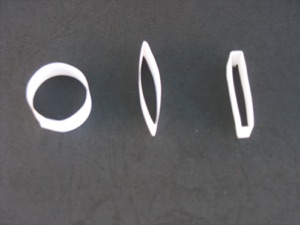

Alternative : If you can’t find foam-style double stick tape, use small squares of corrugated cardboard. Another option is to make flattened rings from strips of paper (see photo above.) 1. Cut a strip of paper and glue the ends to form a ring. 2. Fold each ring flat. 3. Open and fold them flat again, but this time 1/8th inch over from the first fold. When you pull it open, the ring should now be box shaped. You may need to squeeze or refold parts of it to get a good rectangular shape. Glue these to the backs of the figures, then GENTLY glue the figures to the background card with these flattened rings. You may need more than one flattened ring for the larger or longer figures. Fastening the figures to the card in this way will raise the figures off the background and will provide depth to the scene. If kids are making this card, you could skip step 3 and just use the flattened rings--just pull pull on the figures once they are glued, since pressing them in place may flatten them too much.
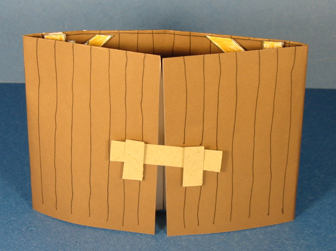
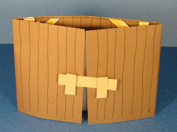
You can make the outside of the card 3-D as well. To make the front of the card look like the stable doors, cut out the cross bar and two braces from thin cardboard, such as a cracker box. Fasten the braces to the “doors” with foam tape, but make sure the braces only have the foam tape on the bottom half so the cross bar can fit behind the braces on the top. Fasten the crossbar to the card with a brad. Now the crossbar can be lifted and lowered, but not get lost since it is fastened to the card.
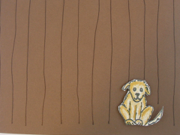
You can even cut out the puppy and fasten it to the back of the card with more foam style double stick tape.
Foam style double stick tape
1.
2.
3.


Sunday School or Bible Clubs > Seasonal Sunday School Crafts > Nativity Christmas Card
