


Seasons > Autumn > Home Decorations > Thanksgiving candy cups, nut cups, and Centerpieces > How to make a large paper Teepee
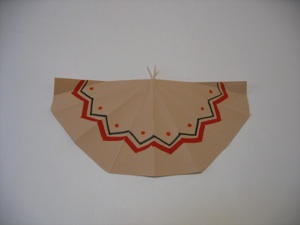
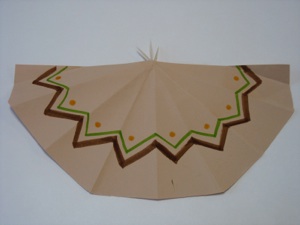
7.Open the paper to a half circle again and decorate the outside with markers or crayons.
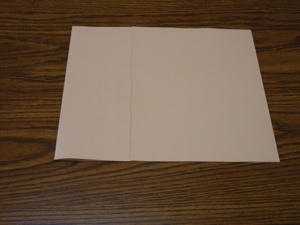
2. Fold the 3 glued sheets of paper in half
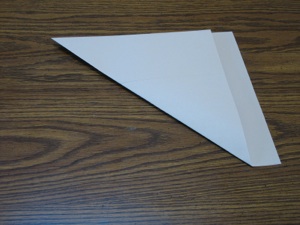
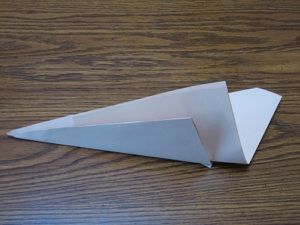
3. Fold the left folded edge up to the top open edge to form a triangle
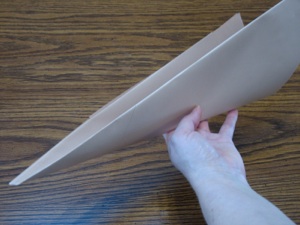
4. Fold the triangle in half again.
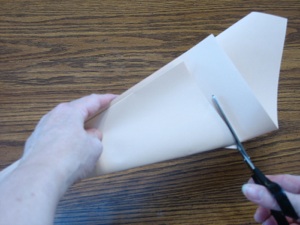
5. Cut along the shortest edge and you will have your teepee cut out. Although the photo shows cutting along the edge of the paper, the bottom edge of the teepee will be straighter if you cut at a slight angle as shown by the dotted red line.
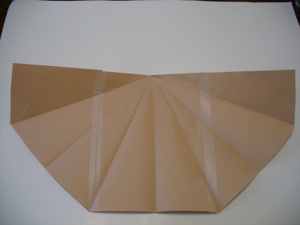
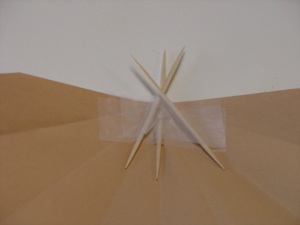
8. Tape or glue 3 toothpicks to the top edge so they look like poles coming out of the top of the teepee.
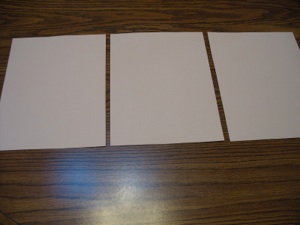
1. Glue or tape 3 sheets of paper together on their long edges. Another option would be to cut the seams off of a brown paper bag.
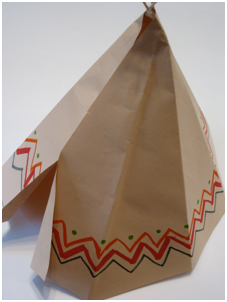
10. Tape the seam at the top of the teepee on the inside. Do not tape the bottom because it will form the door. Fold flaps to form the door. It should stand on it’s own. If it is tipsy, trim the bottom edge.
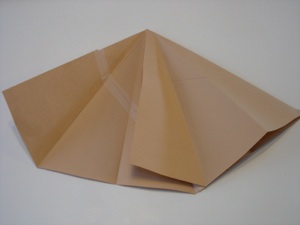
6. Some of the folds go one way, and some of them go the other way. Re-fold them all going the same direction.

9. Bring the straight edges together to form a cone. You may need to adjust the toothpicks at this point.