
Seasons > Christmas > Activities for the home: Fun Ways to Celebrate Christmas > Wooden Nativity Set to Make
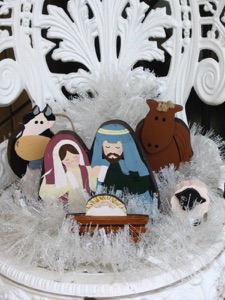
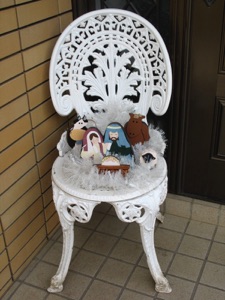
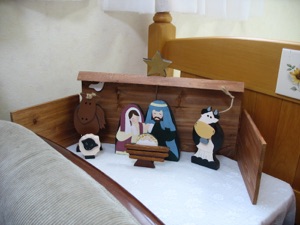
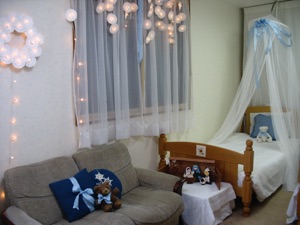
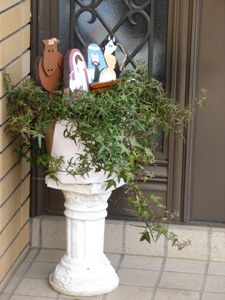
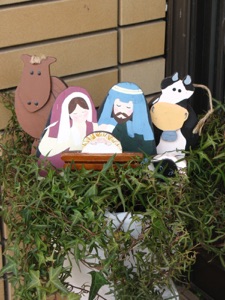
A dresser may be just the right place for decorating your child’s bedroom with a nativity set, but if he or she can’t even see it up there, what’s the point? A low table that they can use to play with the figures is a much better option.
A wrought iron chair or low table enables you to put your nativity set near the front door. It is too small to be seen from the street, but guests who visit will be delighted with the vignette.
A potted plant, whether inside or out, can be a good place to nestle nativity figures.

Wooden nativity sets are great for children because you don’t have to worry about them breaking it. Touching and holding things is a primary way for them to learn at that age! Here are two more ways to make a nativity set even more interactive:
-
1.Don’t put the baby Jesus in the scene until Christmas Day--Jesus’ birthday.
-
2.If you make the in a box shape, with the baby separate, you can have the kids put one straw in the manger for each random act of kindness--to make the bed soft for the baby.
-
3.Make wise men figures and have them follow a star all over the house until Christmas Day, or 6 days later on Epiphany--the day the wisemen arrived. I used a star shaped nightlight, and put the wisemen near it. When ever anyone in the family saw them, they could move them to a new place for the next person to discover and move to the next place.
If you don’t want to make a wooden Nativity set, all is not lost. Various wooden sets are available at reasonable prices. Amazon is one company that sells wooden sets in the $20 to $50 range, or google search for “wooden nativity sets for children”
link to Amazon.com
How to Make this Wooden Nativity Set
-
1.Download and print the pattern
-
2.Cut the people and animals out of wood or cardboard
-
3.Make stands: it can be as simple as drilling a hole for a dowel in the back, or screw small strips of wood on the back with hinges so they can fold flat for storage. For cardboard, tape small strips of wood to the back to act as a hinge.
-
4.Paint the figures
Download pattern
How to Make a barn
-
1.Cut 3 boards--a center piece, and 2 side panels that are half the size so they can fold shut.
-
2.Glue on a strip for a “roof.”
-
3.Stain or paint the wood, or leave it unfinished.
-
4. Fasten the side panels on with hinges, or glue on leather strips to act as hinges.
-
5.Stand behind the figures, and fold flat for storage.
-
6.Optional: Cut out a star and fasten it to a wire or dowel that fits into a hole drilled in the “roof” or in a brace screwed onto the back of the barn.
Ideas for displaying a wooden nativity set


