Seasons > Easter > Activities for the Home > Easter crafts and decorations to make > How to Make a seasonal Welcome Sign
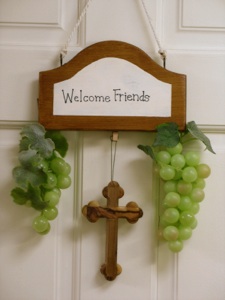
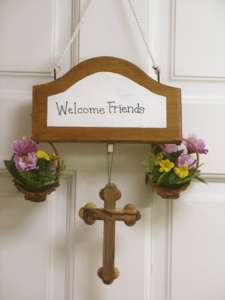


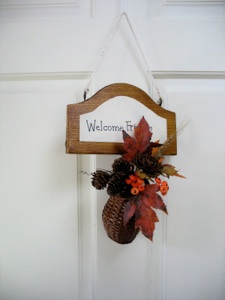
This wooden “Welcome” sign is a quick change artist--change the decoration every month to match the season. Mini wooden clothespins make it quick and easy to change the seasonal decorations.
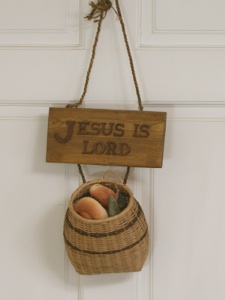
Here are 4 different ways to decorate a welcome sign for Easter or spring. (Everything except the cross was purchased at hundred yen stores.) The flowers symbolize new life in Christ, and the grapes and bread symbolize the Last Super. Put a small jar in the larger basket if you want to keep fresh flowers in it. If you want a special sign just for Easter, you can make it say, “Jesus is Lord,” or “He is Risen!.” “Jesus is Alive!” or “Hosannah!”
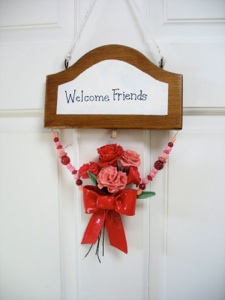
Mother’s day--Make carnations and a bow out of light weight air-drying clay such as Hearty (Karui Kaminendo) or hang a basket with artificial carnations.
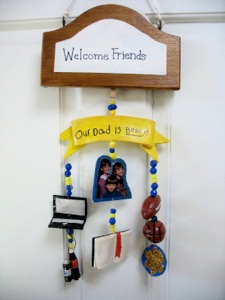
Father’s day--Get your children to make some of Dad’s favorite things out of light weight air-drying clay such as Hearty (Karui Kaminendo) Be sure to add a photo of the kids, too.
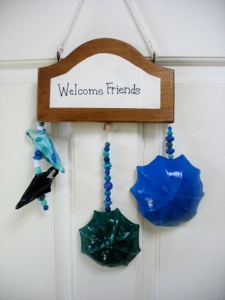
Rainy Season--Make umbrellas or hydrangea flowers with a snail out of light weight air-drying clay such as Hearty (Karui Kaminendo) or hang a basket with fresh flowers.
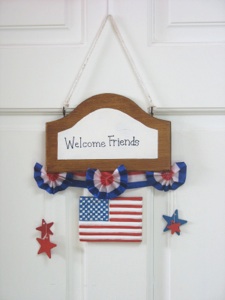
Independence day--Make a flag and stars out of light weight air-drying clay such as Hearty (Karui Kaminendo) or hang a flag from a dollar store. Make the buntings by gathering and gluing tri-colored ribbon to a straight strip.
Spring
Summer
Fall
Winter
Birthday
Fill a basket with colorful artificial leaves and real pine cones. I made the pyracantha berries out of florist’s wire and an air-drying clay such as Hearty (Karui Kaminendo, sold at 100 yen stores).
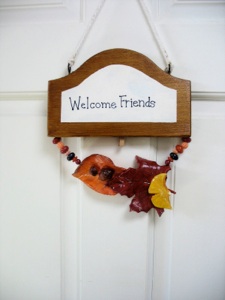
Make leaves by rolling out air-drying clay such as Hearty and cutting them out with scissors. You can use real or silk leaves as patterns, or use leaf shaped cookie cutters. Beads decorate the thread that is clipped into the mini clothespins.
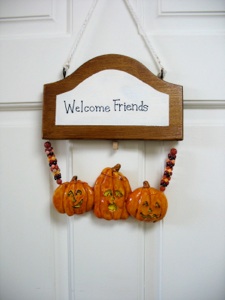
These pumpkins were made out of an air-drying clay such as Hearty (Karui Kaminendo, sold at 100 yen stores) I made balls, and smashed them slightly. Then I used a toothpick to make the ridges and facial features. I colored the insides of the eyes and mouth yellow, then outlined them with thin black marker. I painted it all with varnish.
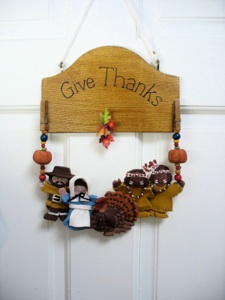
These pilgrims and Indians are symbols of the first American Thanksgiving. I used cookie cutters to cut them out, then added more details to make them seem more 3-D. I added a hat brim and belt buckle to the man, a bonnet and apron to the lady, and bead necklaces to the Indians. I made pumpkins to go along with the beads to string them to the clothespins.
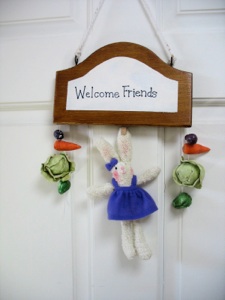
A rabbit and some vegetables can be a summer decoration. I bought the rabbit, and made the vegetables out of air-drying clay such as hearty (Karui Kaminendo.)
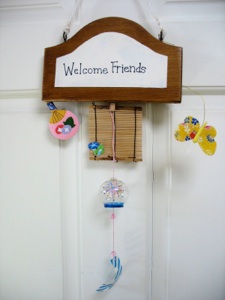
These items combine many Japanese symbols of summer--a fan, a wind chime, a bamboo window screen, and a butterfly. (Most were purchased at 100 yen stores.)
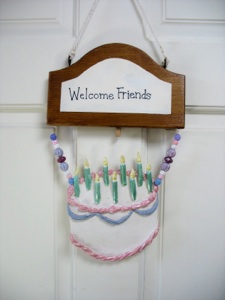
Decorate the sign for birthdays. Roll out clay, and cut the cake shape with scissors. Make candles and cake decorations from different colors of air-drying clay such as Hearty. You can form the candles around toothpicks and poke the toothpicks into the cake.





Seasons > Easter > Activities for the Home > Easter crafts and decorations to make > How to Make a Seasonal Welcome Sign
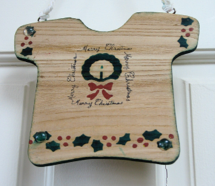
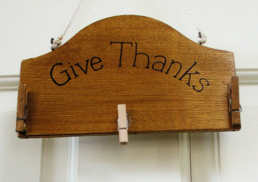
If you want a white area like the sign pictured above, use painter’s tape to cover the borders, and paint the middle white or a lighter color than the border. Then remove the tape, of course. Write your message, or glue on letters. I used the back to give a special greeting for Thanksgiving, but you may prefer to write, “Merry Christmas!” on the back. In December you can just flip the sign over for a Christmas greeting.
Buy a wooden board. Glue on 3 mini clothespins on the back of the board (after you look at the decorations below for inspiration, you may decide you only want one or two clips.) Stain and varnish front and back (some varnish has stain mixed in with it). The sign will have a smoother, shinier finish if you sand it after every third or 4th coat of varnish. (sign, clothespins, and varnish were all purchased at 100 yen stores.)
Plaques are not exclusively welcome signs--they can be made with cute phrases or a Bible verse. This plaque proclaims, “Jesus is Lord.” It is embellished with a basket holding 5 loaves and 2 fish, to remind our family and friends that God can use our smallest offerings to do amazing things--all we have to do is give it to God. (This represents the time Jesus Fed the 4000 with a boy’s lunch of 5 loaves and 2 fish.)
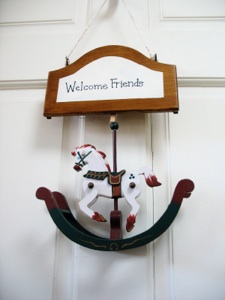
There are several ways to hang decorations from the sign. If you use wire, wrap it around a pencil first, to make it curly. If you use thread, it is more decorative if you string beads that are color coordinated with the decoration. The last bead should be something that fits inside the clothespin opening. Beads that children iron together to form a picture happen to be a perfect fit. Or you could make a small ball of clay to fit, which is convenient if you are making the decoration out of clay.

How to make it
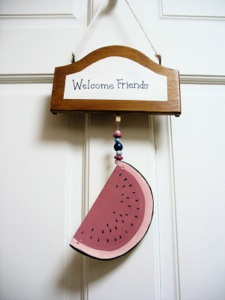
Celebrate summer with decorations depicting the fun things about summer--watermelon, ice cream, beach toys, etc.
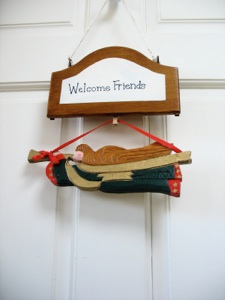
To decorate for Christmas, just about any tree ornament will look nice. Shown here are a wooden angel and a small wreath.
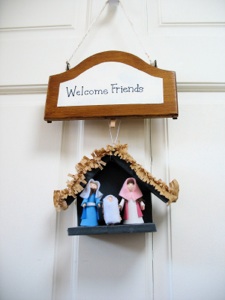
Make a nativity set to hang from the sign.
view instructions for making set
Inset shows nativity scene from a hundred yen store.
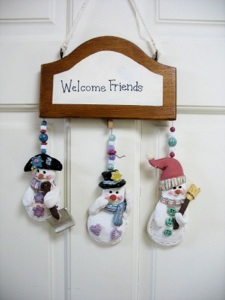
These snowmen were made out of an air-drying clay. Heads tend to fall off--you can either stick toothpicks in the heads and through the bodies, or you can cut the whole body and head out of one piece of clay.
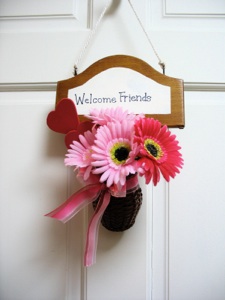
A basket with real or silk flowers can add a bright winter welcome for Valentine’s day. Add hearts made from foam, paper, or clay, and glue them to a pencil or bamboo skewer.
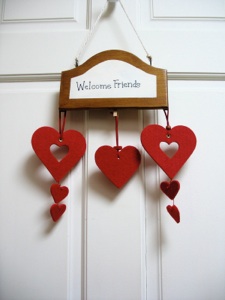
A variety of felt hearts are sold as Christmas tree ornaments in hundred yen stores. Buy them when ever you find them, then use them as Valentine decorations.
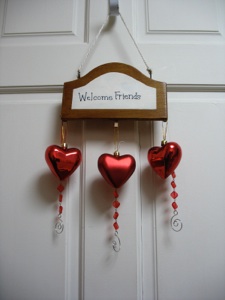
These plastic hearts were hundred yen Christmas decorations, too. The bead chains were sold at hundred yen stores, too, but you could easily make these if stores near you don’t sell them, you can find big plastic beads, such as in little girls’ jewelry making sets.
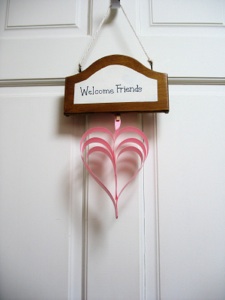
Make paper hearts by cutting 7 strips of pink or red paper and glue/ staple or tape them together. Leave one strip in the middle and bring 3 from each side in the opposite direction and fasten them to the middle strip to form the point.
Plaques come in lots of different shapes. You can stencil the words and decorations, or just paint them free hand. You can make a different one for every season as a stand alone decoration. Look at what is sold in stores or on line for inspiration, then make it for half the price or less. I love it when I can do that!!


