


Seasons > Mother’s Day > Ways to Celebrate Mother’s Day > Mother’s Day frames and message cards to make from a tissue box
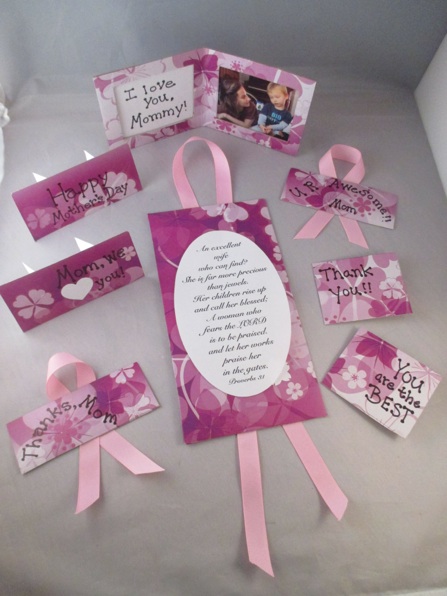


All these notes and frames for Mother’s Day were made from one empty tissue box (Kleenex box.) Tissue boxes are so pretty, I hate to throw them away--so this is a great way to recycle them! One box makes so many notes that you can hide them all over the house to make Mom happy wherever she turns on Mother’s Day.
NOTE: If you don’t have pretty tissue boxes, simply glue some pretty wrapping paper to an empty box such as a cereal box or cracker box. Cut squares and rectangles, and write messages on them.
To use the tissue box, pull the flaps open on both ends and cut them off. Cut off the top and sides. Discard the bottom. Choose lighter colors of tissue boxes so the writing can show up, or use pens made for writing on dark paper.

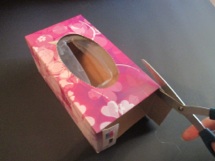
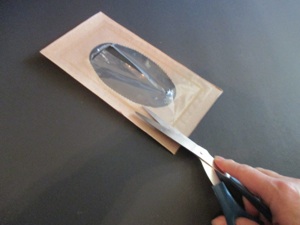
Cut the top off of the tissue box.
Note: If you don’t have a tissue box, glue pretty wrapping paper to a piece of thin cardboard, then cut out a rectangle.
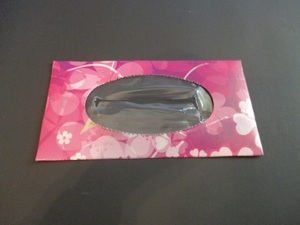
Cut the plastic off of the back of the top. Glue or tape a message or photo to the back of the box. Check the front to make sure the words or photo fit in the oval hole.
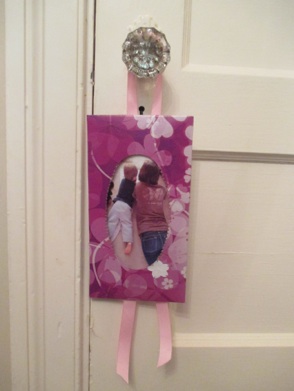
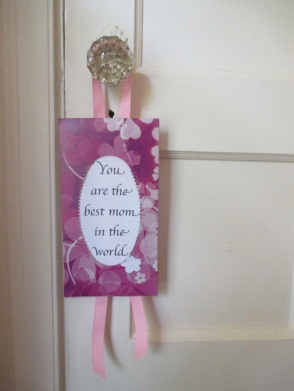
Glue or tape a ribbon on the back of the frame. Hang it on a hook, doorknob, or kitchen cupboard knob.
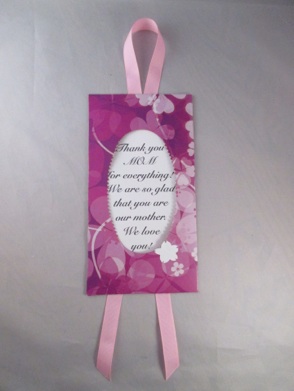
The oval hole in the top of a tissue box makes a ready-made frame. You can hand write a loving message, or print it from the computer. Proverbs 30 is always a good choice; it is long, so you may need to leave some verses out.
It doesn’t have to be a message in the oval hole--the frame can hold a photo as well. For horizontal photos, simply turn the frame horizontal to fit the photo.
The ribbon provides an easy way to hang it. Look for novel places to hang your Mother’s Day message-- on a doorknob, or a picture hanging hook, or on a kitchen cabinet door knob.
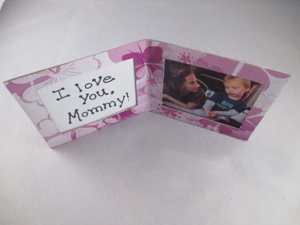
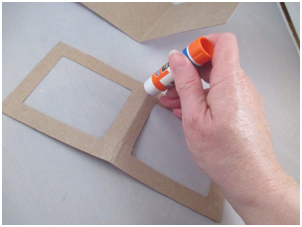
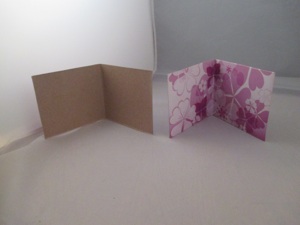
Apply glue to the middle and bottom sides. Leave either the top edge, or the two outside edges to slip in the message and photo into the frame once it is glued.
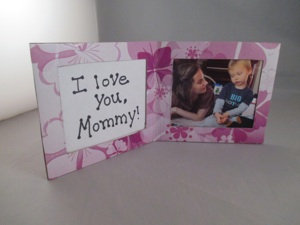
Slip a photo and message into the two sides. Variation: use two photos or two messages instead of one message and photo.
It you want a quicker option of making this frame, simply fold the side of the tissue box, then glue a photo and a message to the colored side on the left and right panels.
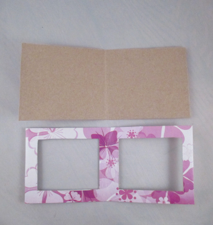
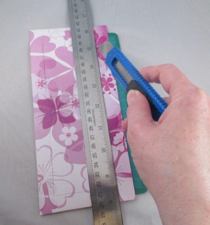
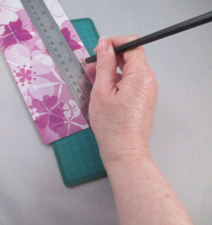
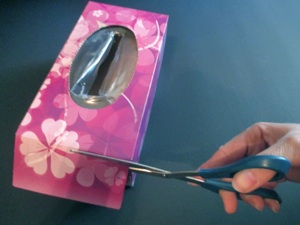
Cut windows in the front panel: Measure and draw with a pencil so you can erase any lines after the windows have been cut.
Use a box cutter or sharp knife to cut the squares out. Use these cut out squares to write more messages for Mom.
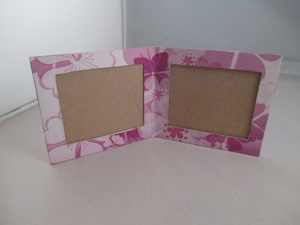
Make a frame with a photo and message to warm Mom’s heart on Mother’s Day.
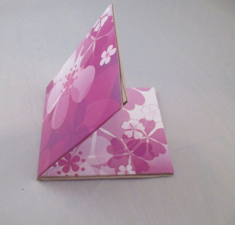
Fold the two side panels from the tissue box in half: Fold one side panel so that the colored side is on the outside of the fold, and fold the other one so that the color is on the inside of the fold. This forms the front and back of the frame.
Hold the two layers together to make sure they fit well. Cut off any edges that don’t line up.
top
side
side
end
flaps
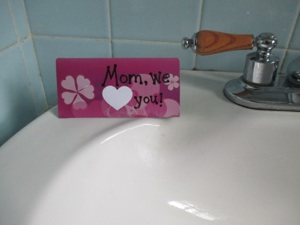
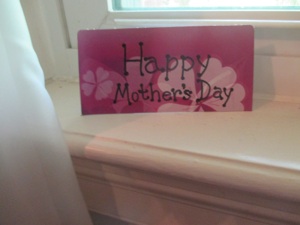
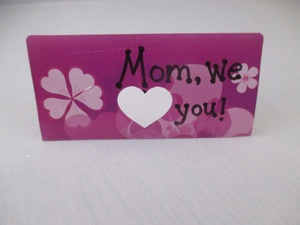
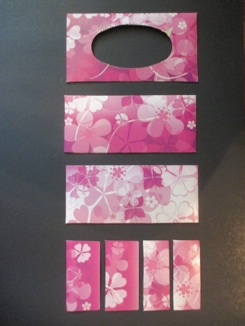
Use all those extra little pieces from the tissue box to make lots of little love messages to scatter all over the house for your mom.
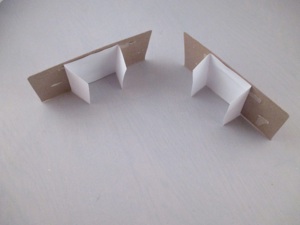
Make the cards stand up with paper stands. Cut rectangles out of copier paper (or the bottom of the tissue box) that are slightly smaller than the message rectangle. Fold the copier paper rectangle so that the sides meet in the middle. Glue the middle section to the back of the card. Cut a narrow wedge off of the bottoms of both side flaps of the stand so that the card leans back slightly. This makes the card stand up, rather than falling forward. It also makes the message easier to see.
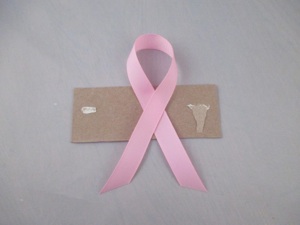
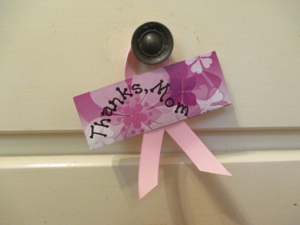
Make a loop with a short section of ribbon for an easy way to hang the message card. Glue or tape it to the back of the card. Now go crazy to find places to hang all the messages--on kitchen cabinet knobs, knobs on dresser drawers or bathroom cabinet doors and drawers, on hooks for pictures, maybe even on light switches!