Seasons > Father’s Day > Father’s Day Decorations > Father’s Day Frame
This photo frame can be a decoration for Father’s Day, or it can be a gift. Either way, it is sure to put a smile on Dad’s face. Each year you can add an updated photo to celebrate Father’s Day. Since it is easy to make, you could even make a new “frame” each year, to document the growing relationship of father and child.
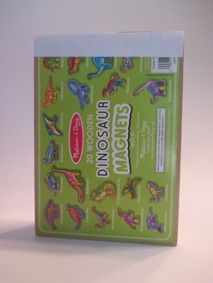
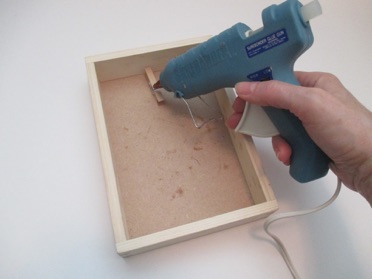
If you have a toy that came in a wooden box, repurpose it for Father’s Day. Simply glue a small wooden clothespin, or metal clip to the inside of the box. You may want to choose the photo before you make the frame, so you know whether to glue the clip so the frame will be vertical or horizontal.
If you don’t have a wooden box, some craft stores sell them. Another option is to make a frame from an empty cardboard box. See instructions below.
Cut out letters spelling “DAD” and the number one with the pound symbol from two different colors of paper. Be sure to make the “#1” larger than the “DAD” so that they both can be seen. Slide front layer and back layer between the paper strip and the back of the box. Don’t glue them--just slide them into the pocket on the back of the box so they stand up.
When the holiday is over, you can take the letters out of the pocket, and store them in the box so they won’t get bent or crumpled.
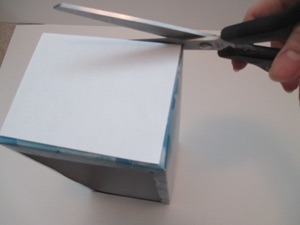
If you don’t have a wooden box, simply make a frame out of an empty cardboard box. An empty tissue box doesn’t even need to be decorated on the outside. Cut the hole of the tissue box bigger, so it will form a frame. Then glue white or colored paper to the inside of the box. Use the outside of each side as a pattern for the paper, but cut it slightly smaller, so it will fit inside the box. Finally, add the clip and words as directed above.
If you don’t have a tissue box either, any empty cardboard box big enough to hold a photo will work. Just glue the open end shut. Cover it with colored paper such as wrapping paper. Then cut an opening in the front of the box. Finish making the “frame” as instructed above.


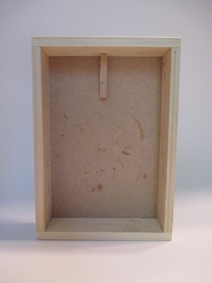


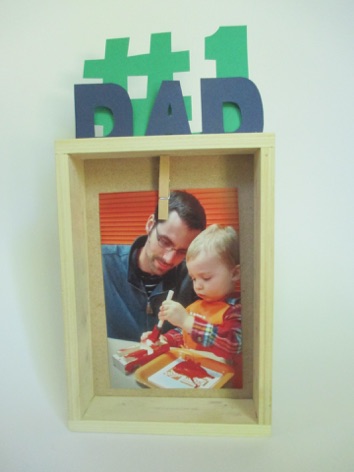

front view
back view
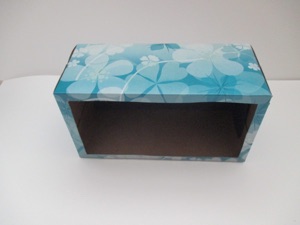
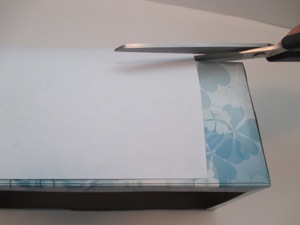
If you want to add a message like the one in the top photo, Cut a strip of paper the length of the box, and glue it to the back of the box (photo on right), but be sure to only glue the bottom half of the strip. That way you can slide the letters and number between the box and the paper strip to make the letters stand up.


