


Sunday School or Bible Clubs > Crafts > Crafts for Boys > Embossed Copper or Tin Craft
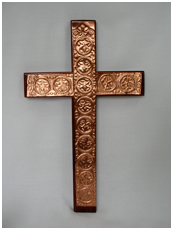
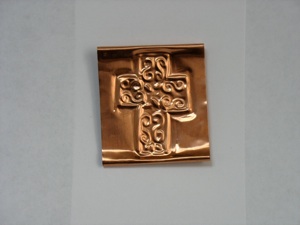
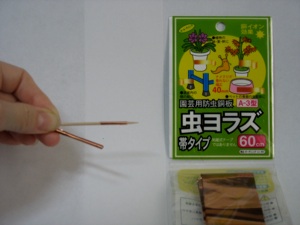
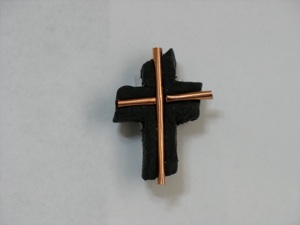
Copper sheeting is quite soft and malleable, so it is a easy to shape into crafts. You can buy it at craft stores, but you can buy it much cheaper at a dollar store or gardening center for keeping slugs off plants (see photo on right.) You can use toothpicks or dull pencils to emboss designs. The designs shown here are all crosses, but any design can be embossed. You can make small projects that are finished quite quickly, such as the cross on the left, or much bigger projects that can be attached to a larger base, such as the cross in the middle, or even a clock frame (view clock craft.) You can roll small strips of copper over a toothpick to form copper tubes, and add it to other materials, such as clay like the cross shown in the photograph on the right. Copper does turn brown over time, so it is important to paint the finished project with lacquer or gesso (a clear liquid like paint that dries clear) to protect it from the air.
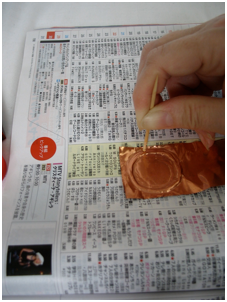
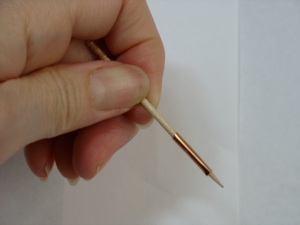
Use soft padding such as a phone book or magazine to press the design with the toothpick. When the toothpick looses it’s point use a new one.
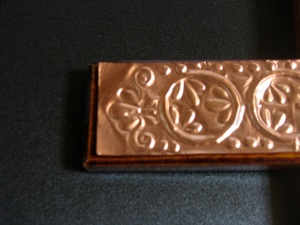
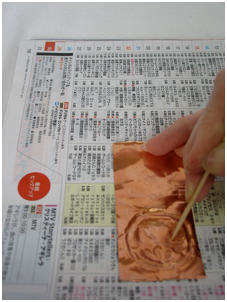
Draw 3 groups of 3 teardrops in each circle on the BACK side (the fatter end should be toward the center of the circle, and then narrow down to a point next to the outer edge. see photo below )
Flip it over and use the toothpick to OUTLINE each teardrop shape on the FRONT side.
Flip it over one more time and press in each tear drop shape to make the design more distinct on the BACK side. Repeat this design.
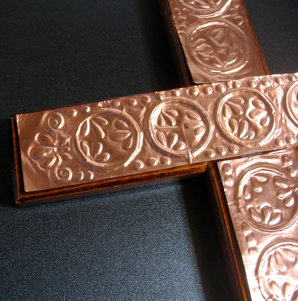
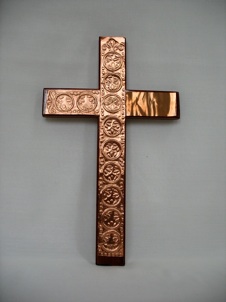
This design looks complicated, but is actually fairly simple--it is the same design repeated over and over. There are 9 circles down the vertical piece, and 2 circles on each side arm (see the copper on the right arm that has not yet been embossed.)
Each circle has 3 groups of 3 tear drops. Between each circle are 3 dots on both sides. The 4 ends have similar designs without circles.
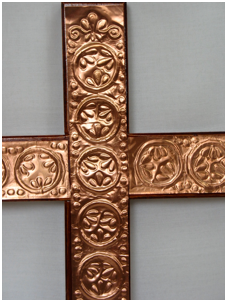
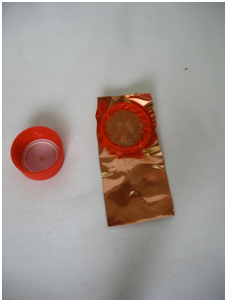
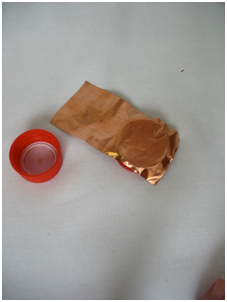
Press a plastic bottle cap (or the ring) into the copper.
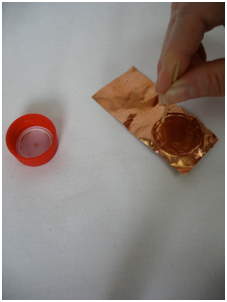
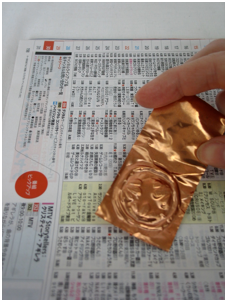
Flip it over and use a toothpick to outline on both sides of the circle--the outside and inside edges. This will form the front side.
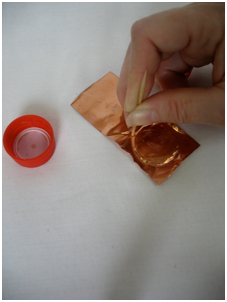
Flip it over and press the toothpick in the circle to make the design more distinct on the back side.
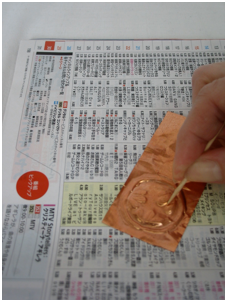
Drew 3 dots between each circle. Begin by drawing them on the back side, outline them on the front side, then draw inside the dots on the back side one last time to make them more distinct. Each of the 4 ends of the cross has 3 teardrop shapes outside of a circle. There is a spiral shape on each side, then 3 smaller teardrop shapes under the top teardrop shapes.
Glue the decorated copper strips to the cross, then coat it with lacquer, varnish, gesso, or modge-podge (used for decopage) to keep it from turning brown like copper coins.
If you can’t find inexpensive copper or aluminum that is soft enough to emboss, here is another option that looks similar, but uses kitchen aluminum foil.
-
1.Draw a design on a piece of corrugated cardboard.
-
2.Squeeze out white glue along the drawn design.
-
3.Leave to dry.
-
4.Thinly spread glue all over the design and around the design.
-
5.Press aluminum foil (the kind you use in your kitchen) and fold the sides of the foil to the back of the cardboard.
-
6.Paint with black paint,
-
7.Use paper towels or rags to wipe off the paint before it dries. The raised design should show up silver (where it has been wiped off), while the cracks and crevices should have the black paint to make the design show up better.
Sunday School or Bible Clubs > Crafts > Crafts for Boys > Embossed Copper or Tin Craft