


Seasons > Special Days > Baby Shower
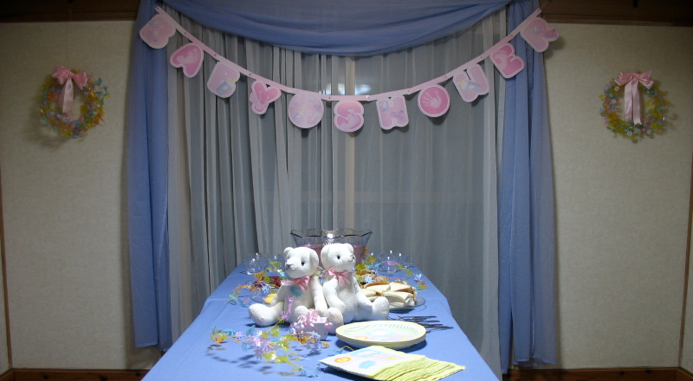
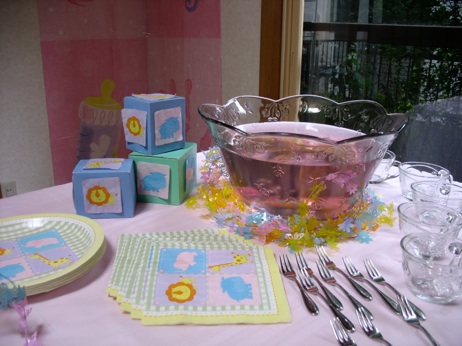

Flower garlands, purchased at dollar stores or party good stores, are quite versatile. This one is 25 feet long. They can be used at the base of a punch bowl, or swirled around the dishes on the table, or strung around a window frame like a vine. They can even be used (untwisted) as a wreath, just add a bow. They are made with cutouts of plastic flowers and butterflies in different colors, so they can be used with any color decorations, so they would work for a shower for a baby boy, too.
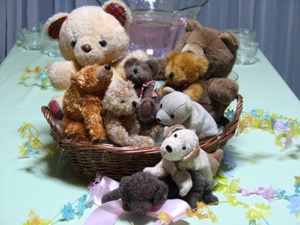
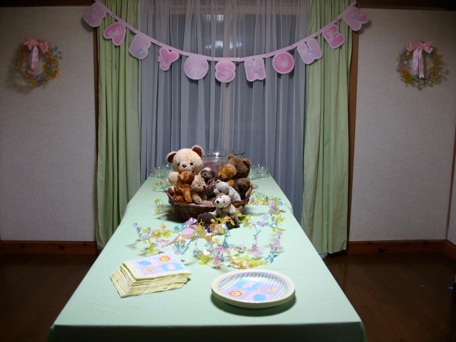
For a cute centerpiece, pile stuffed animals into a basket in the middle of he table. This is a free decoration if you use your own children’s toys, or borrow some from a friend who has kids.
Changing the color of the table cloth can give a totally different look to the same decorations (which can be helpful if you are doing a second or third shower with the same people attending.) Even if you are doing a shower for a girl, using a non-pink backdrop can make the pink decorations really pop, whereas if everything is pink, they don’t stand out as much. Can’t find a tablecloth in the color you want? Buy a sheet. When purchasing decorations, keep in mind the room you will be decorating. It may be better to get 4 of the same garland than 4 different ones.
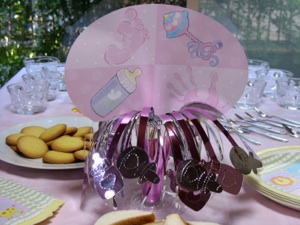
You can save a lot of money on decorations if you buy them at a dollar store rather than a party goods store. Shop around because not all stores carry the same items, even if they are the same chain. (The Dollar Tree had quite a few decorations in blue as well as pink.) If they don’t have a “Baby Shower” swag decoration, you can make one by using your computer to print out “Baby Shower” in a large font. Print it out on card stock, and when you cut out the letters, be sure to leave tabs at the top of each letter, and fasten them together with brads. You can save a little bit of time by NOT cutting out the holes in the middle of the “O” “B,” “A,” and “R,” as shown in this photo. If you print it on colored paper, it will save printer ink.
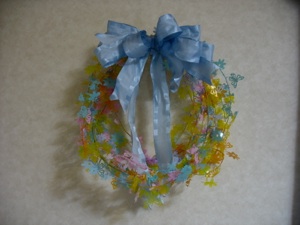
Here is a close-up shot of the garland used as a wreath. Just change the bow from pink to blue, green, or yellow for a boy’s shower.
These bears are big enough that they don’t need a basket as a base like the centerpiece on the green table, above. However, a centerpiece doesn’t have to be stuffed animals. Use any of your own children’s large toys for a centerpiece--dolls, a large backhoe or even a Duplo block castle would work. An alternative is to use unwrapped gifts for the new baby as a centerpiece. Of course a dollar store centerpiece is just about as simple and cheap as it gets.
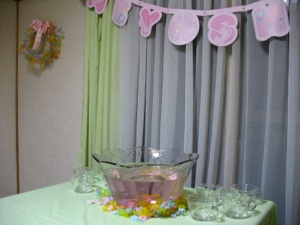
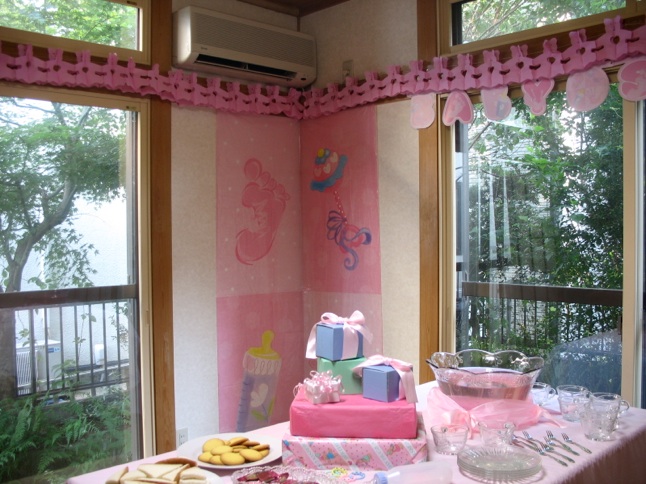
Here are more Dollar store decorations. The pink banner is large, so it makes a big impact. If you can’t find a similar one locally, it would be easy enough to create your own, as long as you can get large sheets of colored paper. The 4 designs on this one are a rattle, baby bottle, a footprint and handprint (hidden from view.) These designs are simple enough that anyone could draw them. Other easy designs might be a pacifier, diaper, or toy blocks. It may take less time to cut them out of colored paper so you don’t have to spend a lot of time coloring in large areas. The pink bear tissue paper garland could also be home made, though it would take some work.
A clothesline is a versatile idea that can be used in a lot of different ways to make a baby shower decoration.
-
1.Hang your own children’s baby clothes
-
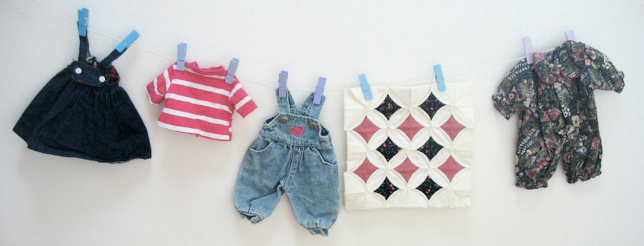
2.Hang dolls’ clothes. Just buy the clothespins and string (these were purchased at a hundred yen store, and came in the pretty pastel colors.)
-
3.Buy a plain T-shirt and have everyone who comes to the shower sign it with permanent markers or fabric paint.
-
4.Hang some unwrapped clothing gifts on the line, if guests agree to this.
-
5.Hang an assortment of baby rattles (just make sure the places you fasten the string can handle the weight!)
-
6.Hang everyone’s greeting cards (with or without the envelopes.)
-
7.Ask everyone to bring baby photos of themselves. As they arrive ask the guests to hang their photos on the clothesline (provide the clothespins, of course) and for a game, let everyone try to guess who each one is.
-
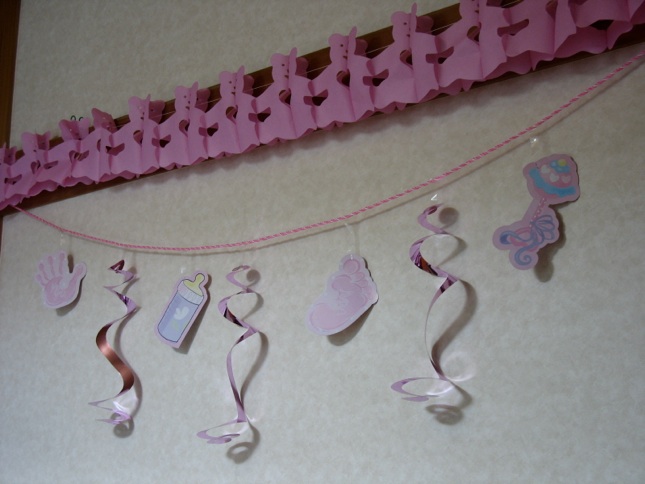
8.Paper cut outs--the string on the left was purchased at a dollar store, but this would not be too hard to make. Cut shapes out of card stock or poster board and tape them to the string. These have the same designs as the banner--rattle, baby bottle, footprint and handprint (you can use your own children’s hands and feet to make the prints.) Between these paper cutouts are mylar “S’s,” but plain spirals would work just as well, and paper could be used instead of mylar. Paper dresses might be cute, too. Use paper doilies for collars, etc.
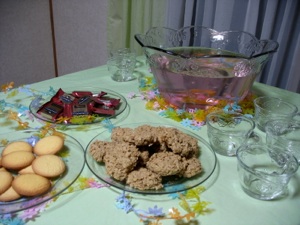
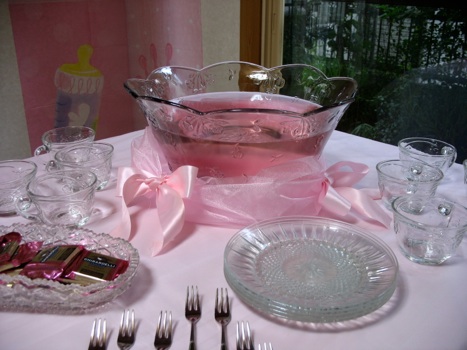
Punch bowls can be dressed up for the occasion, too. On the left is a flower garland wrapped around the base of the punch bool. On the right is pink organdy tied with pink bows at intervals around the base. These were purchased at a hundred yen store. A length of netting would give the same effect. Change it to blue for a boy.
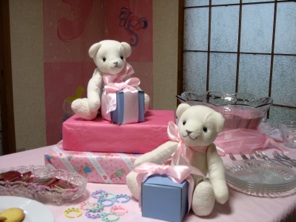
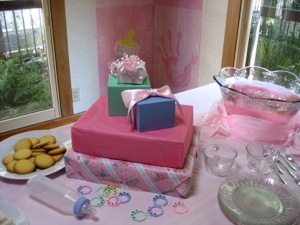
Wrapped boxes make an inexpensive centerpiece. The boxes can be empty, just for display, or they can be real gifts that double as a centerpiece. Baby bottles and dollar store baby bracelets sprinkled around the table can add interesting details.
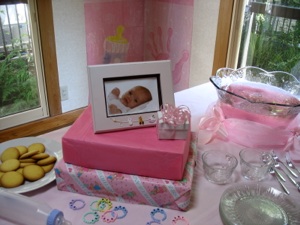
A picture frame can be added to the stack to personalize the centerpiece. The frame by its self wouldn’t be big enough to be a centerpiece, though it could be one of many smaller decorations arranged between the plates of food.
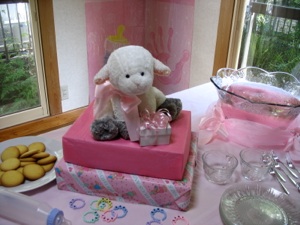
A stuffed animal topping the stack of gifts makes makes an adorable centerpiece. Just change the colors of wrapping paper if it is a boy, or go with a neutral yellow if the baby isn’t born yet.
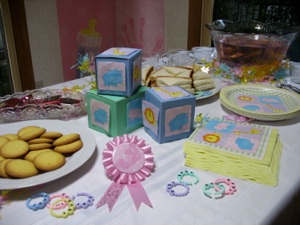
These boxes are made to look like blocks by decorating them with squares cut from the napkins, though cutting them from a plate might have been a better idea. Alternatively, cut out letters of the alphabet, and glue them to the boxes. Arrange them to spell , “baby.”
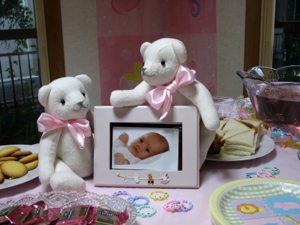
You have seen these bears and picture frame before. This time they are arranged with the frame to make an entirely different centerpiece. Combining smaller items that would be too small on their own, can make them large enough as a group to form a centerpiece.
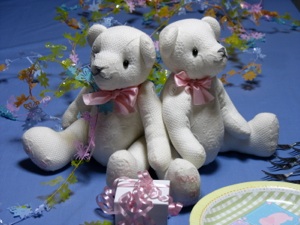
Rearranged again, the white bears make still another centerpiece. Hopefully these photos have inspired you to see the possibilities of the items you already own. Just keep rearranging them until you are satisfied with the result.
Seasons > Special Days > Baby Shower