Seasons > American Independence Day > Home Decorations > Paper 4th of July Decorations
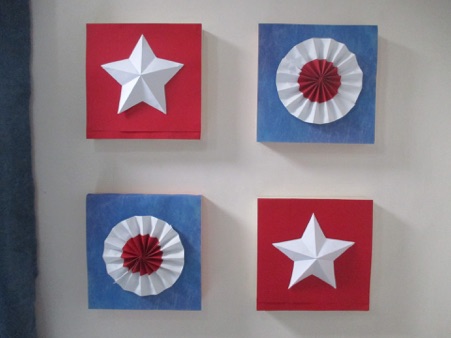
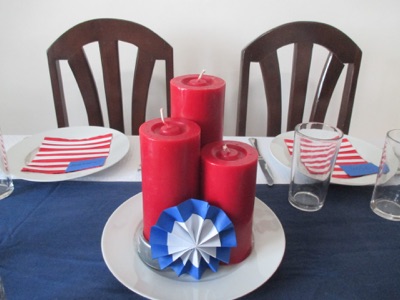
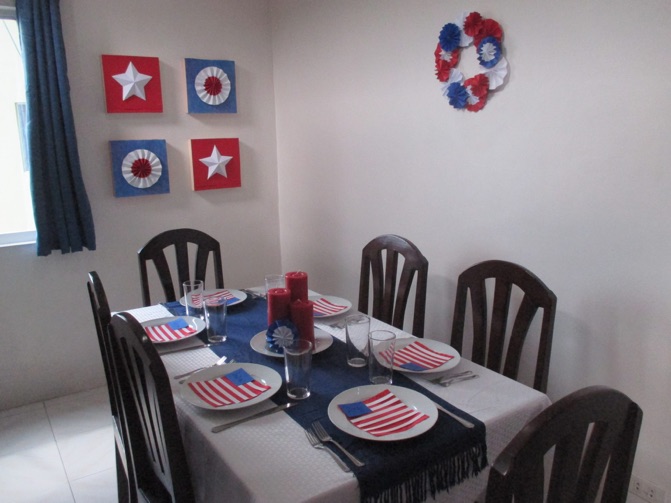
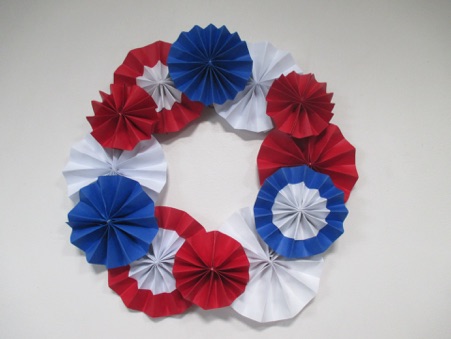




Independence Day buntings inspired these festive 4th of July decorations made from colored paper. When you decorate the walls as well as the table, it looks like a celebration! If you buy Independence Day themed napkins and arrange candles for a centerpiece, you can decorate the table very quickly. That leaves you with more time to make decorations for the walls.
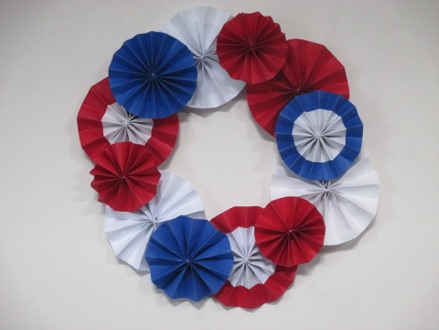
It only takes a few sheets of colored paper to make this wreath, so it costs almost nothing to make. See instructions below.
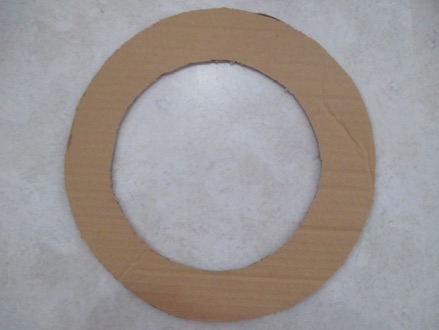
Make the base of this wreath out of a cardboard box. Cut a donut shape out of the cardboard--use a large frypan or garbage can lid to draw the circles. A box cutter or craft knife works well for this. Turn the pan a bit to finish drawing the circle where the handle gets in the way. The wreath base shown is 11 1/2 inches in diameter, but make it whatever size box you can find. Be careful not to damage whatever is under the cardboard while you are cutting it--put a cutting board or extra cardboard underneath as protection for any surface.
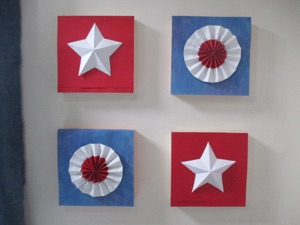
These wall decorations are made out of paper, too. The stars and medallions can be mounted on cardboard squares covered with colored paper (the photo shows 12 inch squares), or simply mount background sheets of red and blue paper on the wall with mounting putty (such as “Fun-tack” sold with office supplies) Use loops of masking tape if you can’t find mounting putty. If your background paper is not big enough, or square enough, tape or glue sheets together to get the desired size and shape. Make the medallions the same way as for the wreath, described below.
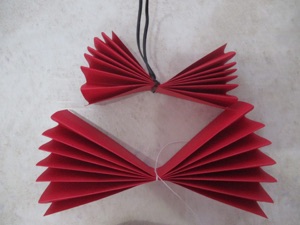
Next fasten them in the middle with thread or twist ties.
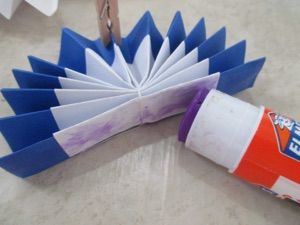
Pull the sides together to form a circle, and glue them on both sides. Use paper clips or clothes pins to hold the sides together until the glue dries. Make sure there are no gaps.
To make the two-color medallions, layer a narrower strip of paper on top of a wider one, then fold them together in accordion folds. You don’t have to glue the layers together--just make sure both layers are folded together.
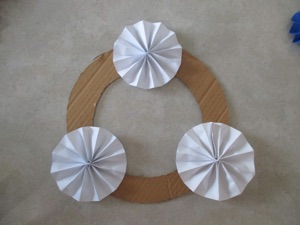
Arrange the medallions on the wreath before gluing it on, to make sure you like how it looks. If you will hang the wreath on a white wall, don’t use white on the bottom layer because it disappears agains a white wall. White medallions do look good on a dark door, though.
Glue the medallions on with a glue gun.
Alternating colors can give a more interesting design. This wreath has 6 medallions on the bottom layer--3 white, and 3 red. All of these are cut 5 inches wide, and 11 inches long. The remaining 3 1/2 inch wide strips are used for the contrasting colors in the middle, and also for making smaller medallions.
Glue smaller medallions on top of the bottom layer. This wreath has 3 red, and 3 blue smaller medallions on the top layer. The blue medallions shown here are made from sheets of paper cut in half--4 1/4 inches wide, and 11 inches long. The small red medallions are made from the extra strip cut from the paper for the larger ones--that left over strip: 3 1/2 by 11 inches
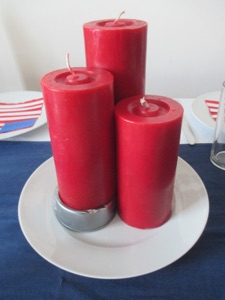
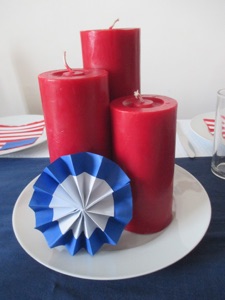
Candles make a super simple centerpiece. They also look a bit like firecrackers, so they fit with the theme. The white plate and blue table runner make the red candles stand out. If you don’t have a table runner, you can put a row of colored paper as a table runner.
Candles look more interesting if they are all different heights. One way to do this is to make a candle taller by putting it on a can. You can cover the can with a strip of paper or ribbon. It can match or contrast with the color of the candle. Decorate the group of candles with one or more paper medallions.
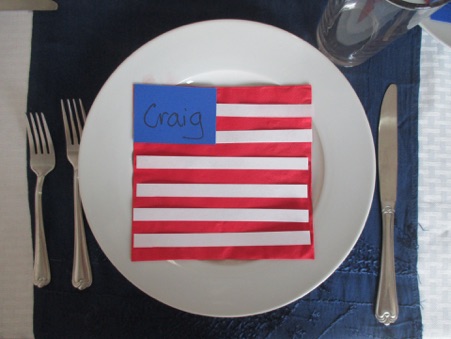
If you can’t find 4th of July napkins where you live, you can turn red or white napkins into American flags with just a little bit of cut paper, which is a snap if you happen to have a paper cutter. Cut a blue rectangle, but instead of spending loads of time painting little stars, write the name of each guest as place cards.
For a red napkin, cut 6 strips of white paper, and arrange them on the red napkin (1/2 x 6 1/4 in. shown in the photo). Make sure that a red stripe is showing at the top and bottom of the “flag” napkin.
For white napkins, cut 7 strips of red paper the width of the napkin. Arrange them on the white napkin, making sure that the top and bottom stripes are red (not shown).
Glue the sides, then hold together with a clothespin or paperclip until the glue dries.
Be sure to glue under the top layer of paper before gluing the sides together.
To make these bigger medallions glue two sheets of paper together--8 1/2 by 22 inches, with a half sheet of red in the middle. If you want to save paper, you can use as little as one and a half sheets of paper--8 1/2 by 16 inches.
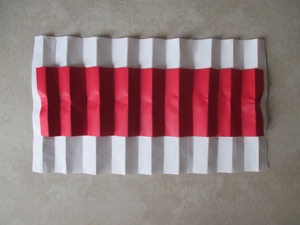


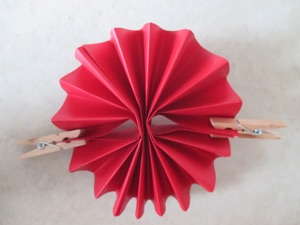
Make the bunting medallions by folding them the length of the paper in accordion folds.
(See sizes below, or make them any size to fit your base.)


