Seasons > Mother’s Day > Mother’s Day Decorations > Fan-shaped Flower Decoration and Napkins (serviette)

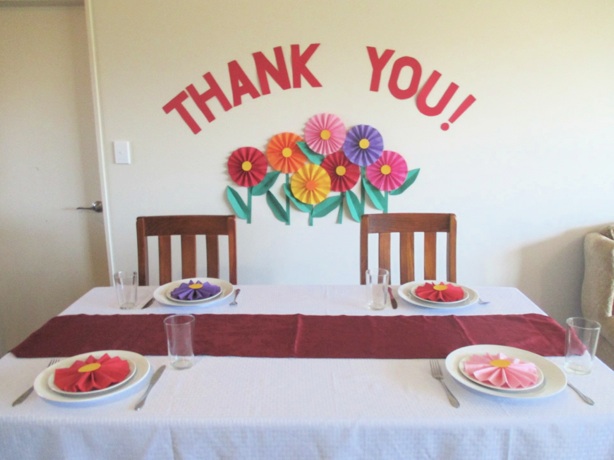
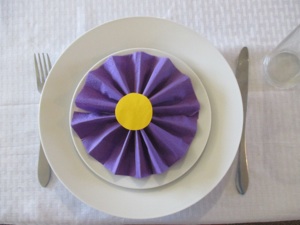
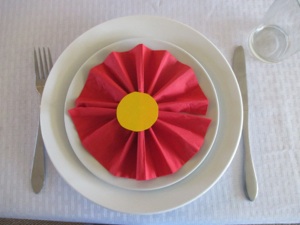
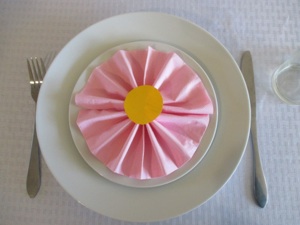
Fold napkins: open paper napkins one fold to form a long rectangle. Accordion fold the napkin from one end to the other end. Fasten each folded napkin in the middle with thread or twist-ties. Lay a napkin on each plate. Spread out each napkin to form a circle. Cut out yellow circles and lay them on top of each napkin flower. If these instructions are unclear, look at the photos below for making the paper flowers, except that the napkin versions are different from the wall decorations in two ways: you only need one napkin, not 2, as in the paper version, and there is no need to fasten the open sides--just pull the sides to form a circle on the plate.
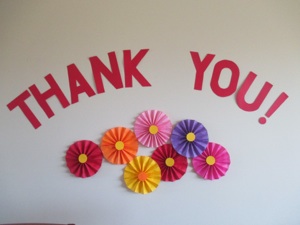
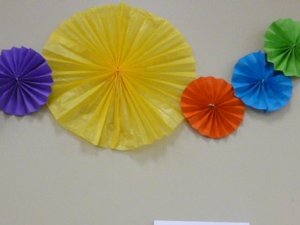
Here is an inexpensive way to say a big “Thank You!” to your mom on Mother’s Day. You can make a this cheerful bouquet for just pennies. Each flower is made from 2 sheets of colored paper. Fasten them all to the wall with mounting putty. When the celebration is over, fold them up into a box to save and use for other occasions, like birthdays, baby showers, farewells, or even Christmas!
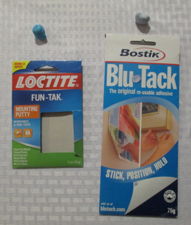
Cut two letters out of each sheet of paper. Fasten onto the wall with mounting putty such as “Fun-tack” or “Blue-tack.” Start putting up the letters from the middle so that you can get them centered on the wall. If you want to save printer ink, print them in gray scale to make a pattern, then cut out of colored paper.
Make flowers: See instructions below.
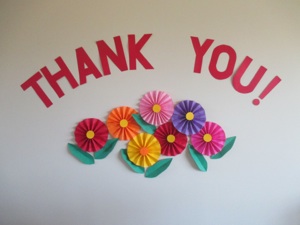
Optional: Make them look more like flowers with centers, leaves and stems: Cut yellow circles to form the centers of the flowers. Fasten them on with mounting putty, or loops of tape.
Cut out leaves and stems. Fold them in half to give them a middle vein. Fasten them to the wall with mounting putty, too.
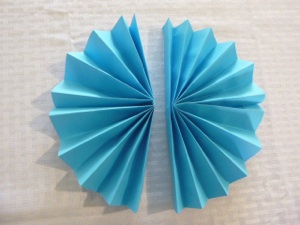
To make a half circle, you only need one sheet of paper. To make a full circle, you will need 2 sheets of paper.
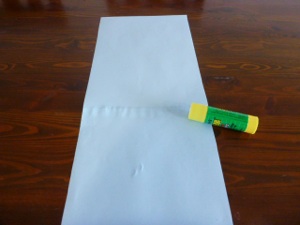
To make a full circle, glue 2 sheets of paper end to end. Make sure they are glued together straight--lay a ruler next to the two sheets to check. (If you are trying to save paper, they can be made with one and a half sheets rather than 2 sheets.)
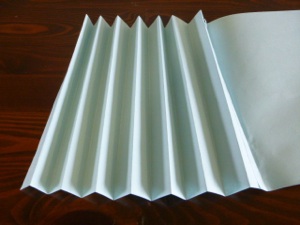
Fold back and forth in mountain and valley folds (accordion folds) the full length of the 2 sheets.
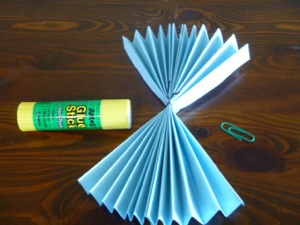
Fasten the middle with thread or wire.
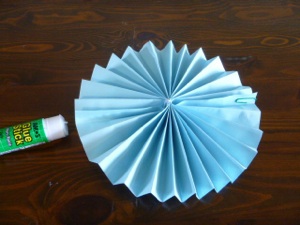
Pull the sides together to make a circle.
Glue one open slit, and paper clip the other open slit. The advantage of using paper clips is for storage (see photo below.)
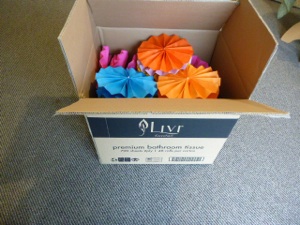
These discs require quite a large box to store, if you glue both slits. Also, stored unfolded, the flowers are likely to get crumpled. They can be stored in a much smaller box if you glue one slit and paperclip the other slit.
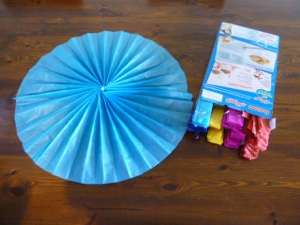
Simply slide the paperclip off of the flower and fold it up like a fan. These folded discs take up a much smaller space for storage, so an empty cereal or cracker box make great storage containers for folded discs.
These discs can be used for many occasions, not just Mother’s Day--Birthday decorations, farewell party decorations, graduation party, kid’s room decorations, class room decorations, and even Christmas decorations. In these situations when they are not used as flowers, it will be more interesting to make big discs mixed in with small ones. You can make these out of any large sized paper such as wrapping paper or tissue paper. However, tissue paper is much harder to work with. See my tips for making large discs:
View how to make larger discs from tissue paper
How to make the fan-shaped flower decorations.