


1. Cut 5 strips 1/2 or 1 inch wide, and the length of the short side of the paper. Stack them and staple or glue one end.
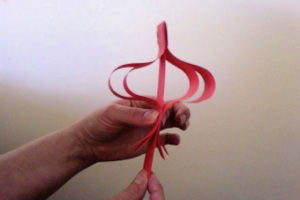
2. Pull the middle strip with one hand while pushing the other strips up that middle strip. Pull just a short distance to make a tear-drop shape and a pull up farther to make a fatter onion shape.
3. Staple all 5 strips at the bottom.
4. Cut off the excess paper of the middle strip so all the strips are the same length.
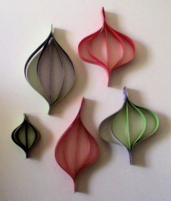
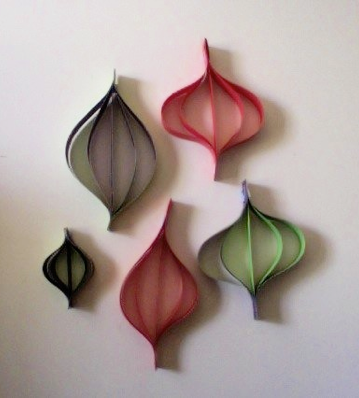
Change the colors, size and shape for a variety of Christmas tree balls.
Crafts > Crafts for Adults by Season > 15 Paper Christmas Tree Ornaments > Quick Paper Christmas Tree Balls
Crafts > Crafts for Adults by Season > 15 Paper Christmas Tree Ornaments > Quick Paper Christmas Tree Balls
These quick paper ornaments are imitating the delicate handblown glass Christmas tree ornaments. They may not be so interesting to look at individually, but grouped together in different sizes and colors, they become more appealing. They make a great filler for making a large Christmas tree with lots of paper ornaments because they are so quick. Then fill in the tree with the more interesting, but more time consuming paper ornaments.
These are great for a Sunday school craft, too, since they are so quick. If you plan for a classroom of kids to make them, cut out strips of paper with a paper cutter ahead of time, then in class, all the kids have to do is fold and glue them. If you don’t have a paper cutter, use lined notebook paper as a guide, but cut on every other line rather than every line, since the strips would be too narrow if you cut every line. Save time by cutting 3-4 sheets of paper at a time with the same effort as cutting one. You do need a good pair of scissors to do this. The sheets of paper do tend to slide, so readjust the sheets after each cut.