


Super Quick Paper Ornaments
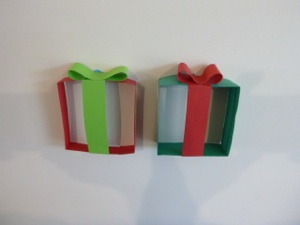
More Detailed Paper Ornaments Same easy techniques, just more parts to assemble
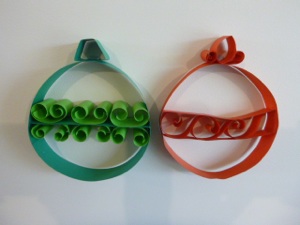
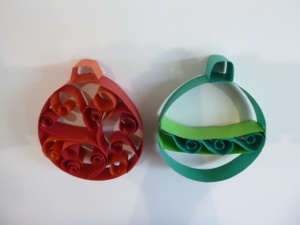
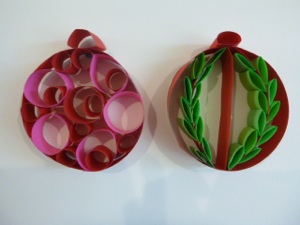
5 Ways to Decorate “Balls”
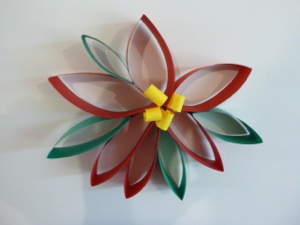
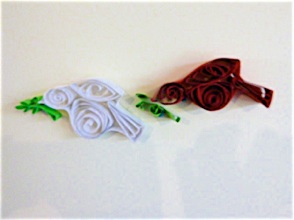
Advanced Project
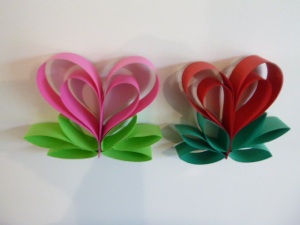
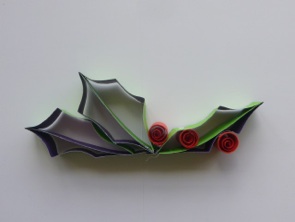
Last year’s Designs
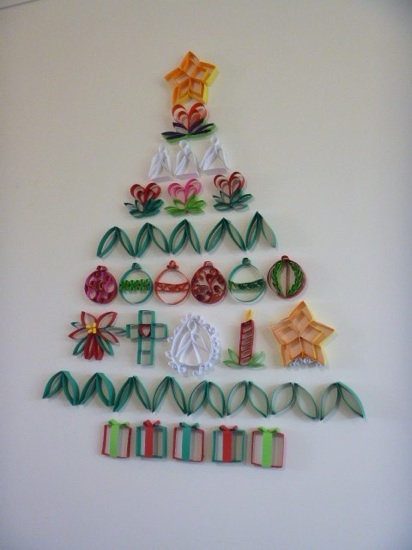
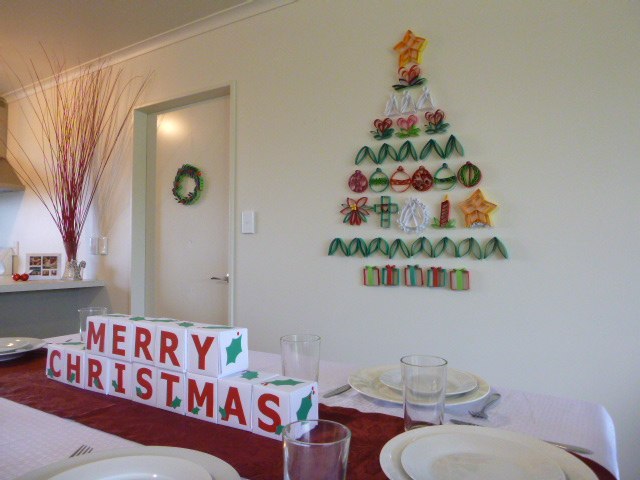
Make just one ornament, and hang it on a real tree, or make a bunch of ornaments and make a whole tree on a wall with the ornaments themselves. If you want the tree to be bigger, just make more ornaments! These Christmas tree ornaments are quite inexpensive to make, since they are made out of paper. Stored with care, they can be used for many years. Because they are cheap, and they can also fill a large space, they are perfect Christmas decorations for a classroom or Sunday school room. This kind of Christmas tree is also good for a small apartment that doesn’t have room for a real tree, but does have wall space. This way to make a Christmas tree might also be good for countries where the climate is warm during the Christmas season, and fir trees are not available. You could even use this kind of Christmas tree for an advent calendar--make one ornament each day in December, and by Christmas day, a whole tree will be created.
There are several ways to arrange the ornaments into a tree shape. In this photo, they are lined up in rows of similar shapes, with rows of leaves in between. Fasten them to the wall with mounting putty or masking tape so as not to pull the paint off the wall when you take them down.
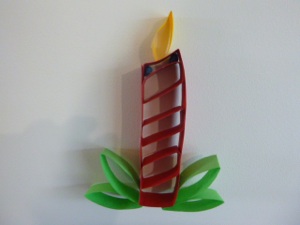
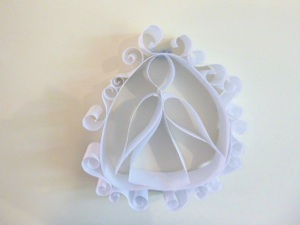
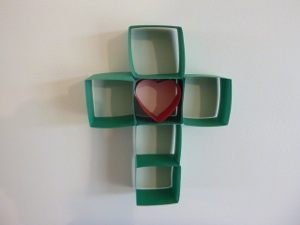
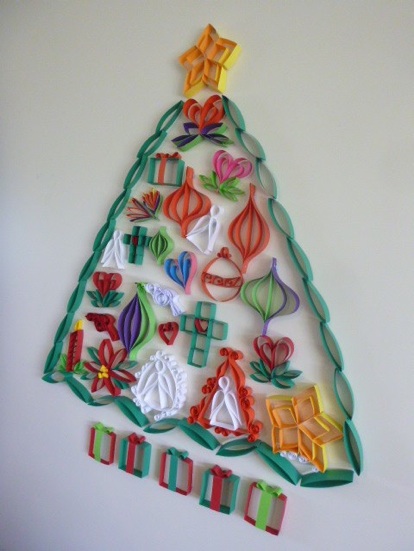
In this version, the ornaments are randomly arranged inside an outline of paper leaves. If you have a large sheet of green paper, you could glue all the pieces to that rather than fastening them to the wall. You could even arrange the same ornaments into a giant wreath shape rather than a tree shape, or form garlands around doors and windows.
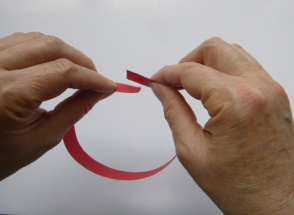
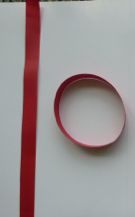
1. Make a ring shape:
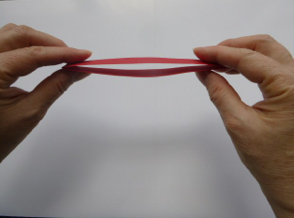
Cut a strip of paper. Bend it into a ring shape and glue the ends together. Long strips make big rings, short strips make small rings. This is also the first step for most of the other folds.
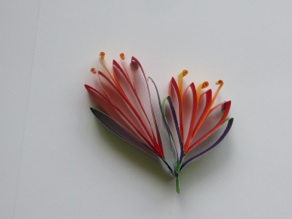
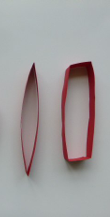
2. Make a leaf shape:
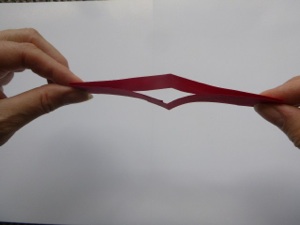
Press the ring flat. This is used for making small leaf shapes as well as big ones. It is also the basis for making squares, rectangles, and diamonds. See the following steps to make them.
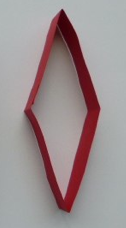
3. Make a square shape:
Open the leaf shape, line up the two folded places, and press the ring flat again. When you open it this time, it is no longer a ring, but a square or diamond shape.
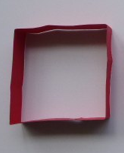
4. Make a rectangle :
Make a rectangle in the same way as the square, but skip step 3. Instead, open the leaf shape, then flatten it the distance from the original fold that you want the width of the rectangle to be.
4 Basic Folds to make these projects


Original fold
New fold


Width of rectangle


Crafts > Crafts for Adults by Season > 15 Paper Christmas Tree Ornaments
Crafts > Crafts for Adults by Season > 15 Paper Christmas Tree Ornaments