


Sunday School or Bible Clubs > Crafts > Nativity crafts > Cardboard box Stable for Nativity Set

Use any size box such as a cereal or cracker box down to as small as a match box.
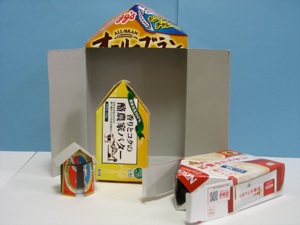
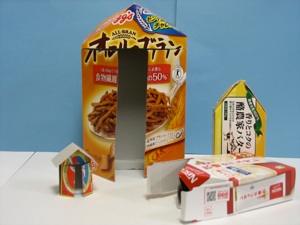
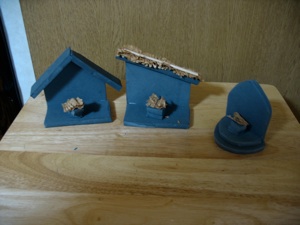
1. Cut the four corners of the box down about a third of the way (as shown in the middle photo.)
-
2.Fold the top two corners of the front and back panels inside to form a point in the middle.
-
3.Fold the 2 side pieces to form the roof and glue in place.
-
4.Use a craft knife to cut 2 horizontal slits-- just below the roof to form the top of the door, and along the bottom to form the bottom of the door.
-
5.Cut a slit from the top slit to the bottom slit and fold the 2 doors open.
-
6.Color the outside of the box by painting with acrylic paints, or gluing colored paper to the box, or covering it with contact paper.
-
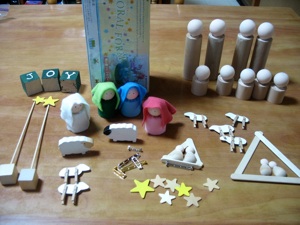
7.The more details you add, the better it looks. You can add hay, a manger, animals, a star, etc. If the box is big enough, it can also be used as a storage box.
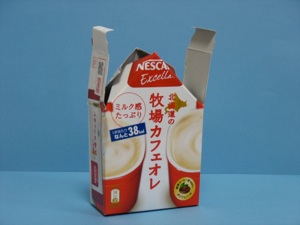
An Alternate stable can be cut and folded as shown in the photo above. Use a box that is large enough for the sides to fold to the middle once it is cut, and color as explained in step 6 above. A quicker way is to buy poster board in the color you want, and fold and cut it.
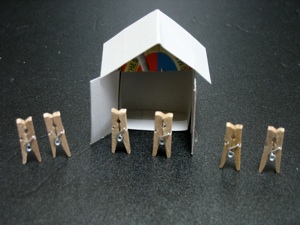
So how do you make people small enough to fit in a match box? Use tiny clothespins. Check to see if they can stand up or not--some of them don’t. Clamp the clothespins onto map pins for heads. If you can’t find map pins, you can cut sewing pins short with the cutting blade on pliers. Wrap tiny pieces of cloth or paper around the figures for clothing, and glue in place.
steps 1 - 2
steps 3 - 5
cut
cut


cut